Young people will learn that there are both safe and risky ways to wear and use backpacks. They will also assess their own backpack safety and make changes if needed.
9-14 Years Old
30 Minutes
To find out how this health safety lesson fits Physical Education and Health Education standards click here.
Backpacks are a great way to carry stuff: books, homework and other items for school, sports gear, or general belongings. But backpacks can also pose problems if they aren’t used and worn correctly.
Backpacks that are too heavy, aren’t worn properly or have uneven weight distribution can cause muscle and joint aches and pains, posture problems, and even injury. This lesson focuses on the “Dos and Don’ts of Backpacks” so that young people can fix current problems and prevent future ones.
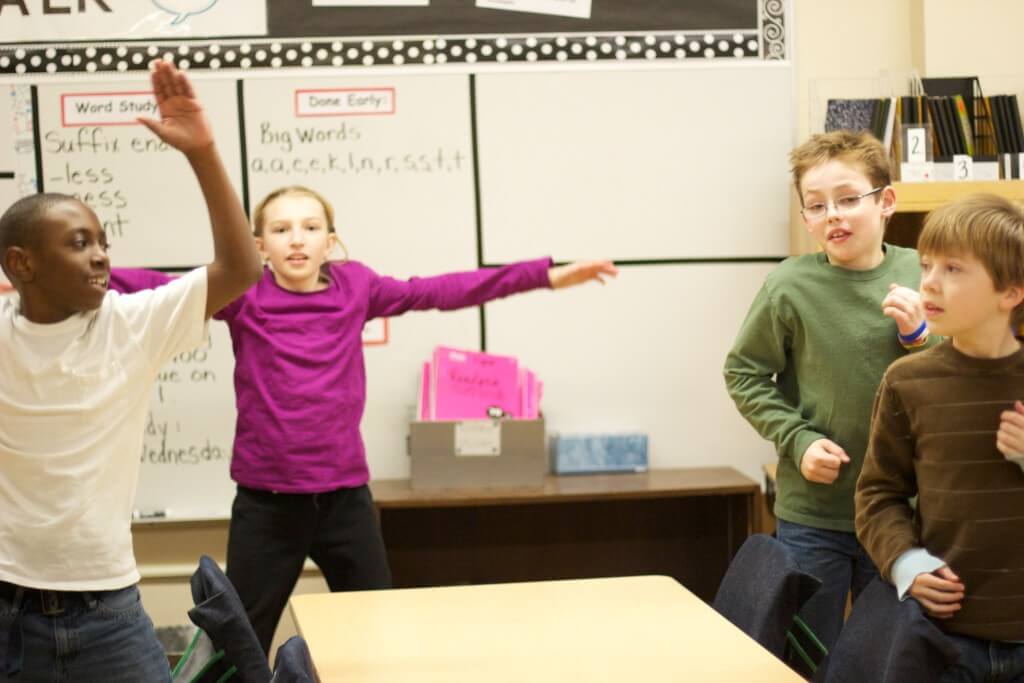
Begin by facilitating a conversation about backpacks using the following questions:
Then explain that there are some dos and don’ts when it comes to backpacks that can help them avoid injury, and that they’re going to learn about them today.
Guess the Weight (need to have a few backpacks prepared and also give students the opportunity to have their backpacks weighed):
Most backpack injuries happen because the bag is too heavy. Your backpack should not weigh more than 15 percent of your body weight. For example, if you weigh 120 pounds, your backpack should not weigh more than 18 pounds.
Give the young people a few minutes to calculate 15 percent of their body weight. They can just use an estimate and they don’t need to share this information.
If your backpack is too heavy, you might start to arch your back, lean forward, or lean to one side.
Ask: What do you think might happen if you do any or all of these things? Wait for some answers and if they aren’t mentioned, talk about:
Neck and upper back: If you lean forward and extend your neck because your bag is so heavy, your neck and shoulders can get sore and it is hard on your muscles and ligaments.
Shoulders: A heavy backpack puts pressure on shoulder joints, muscles tighten and your posture changes.
Lower back and hips: Leaning forward to offset the weight of a heavy bag doesn’t just hurt your neck, it can also cause problems in your lower back. At the same time as you’re leaning forward, the backpack is pulling you back which can cause strain and soreness in your hips.
Knees: Your knees can even feel the pressure of too much backpack weight, especially if you change your posture and your gait (the way you walk) because of it.
After you’ve introduced the possible problems, pull out the scale and the demonstration backpacks you’ve prepared. Ask for a volunteer to be pre-weighed (or use a luggage scale). You’ll get a starting weight for this person and then have him or her step on the scale and be weighed with each different backpack.
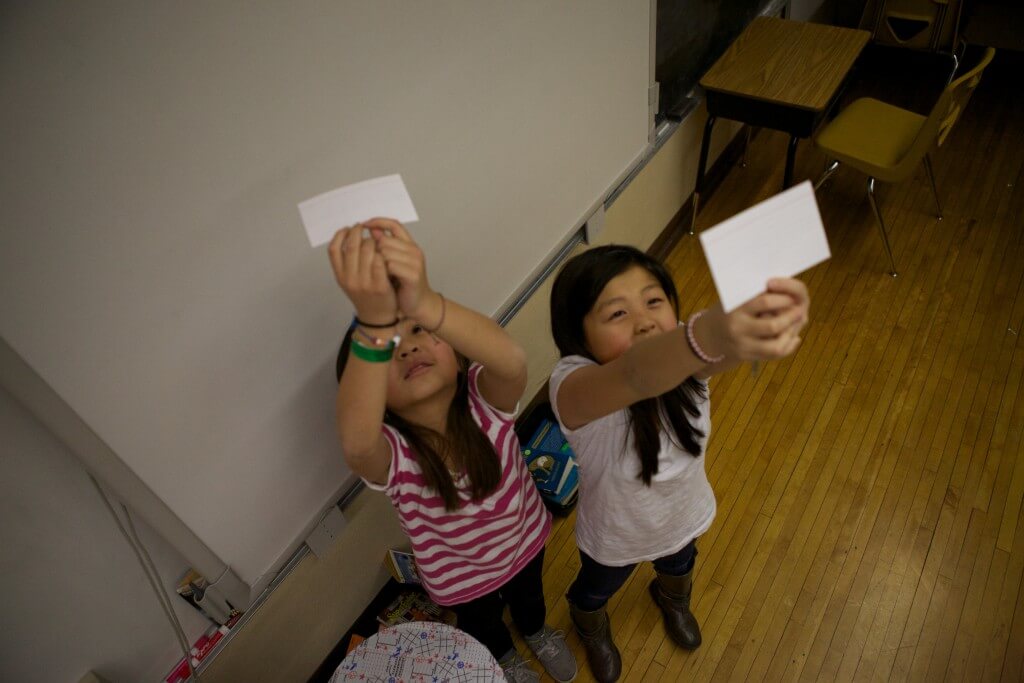
Ask the young people to guess the weight of each backpack before weighing it. You can do this in a variety of ways depending on your resources: people can simply call out their guesses; they can write each guess on a piece of paper or a white board; you can play a Kahoot!® game if you have that technology. Use whatever works best for you in your setting.
Then weigh each backpack to see how close the guesses were. To calculate the weight of a backpack, subtract the starting weight of the person from the weight of the person with the backpack. Also calculate the percentage to see if that backpack is at the right weight for that person.
If time allows, weigh each person’s backpack.
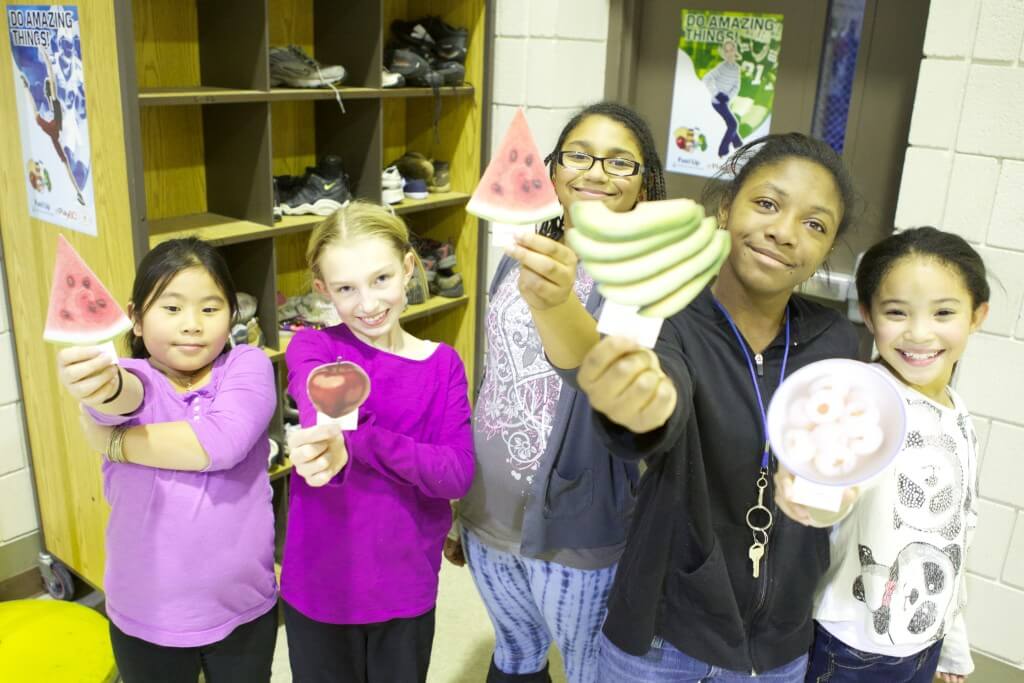
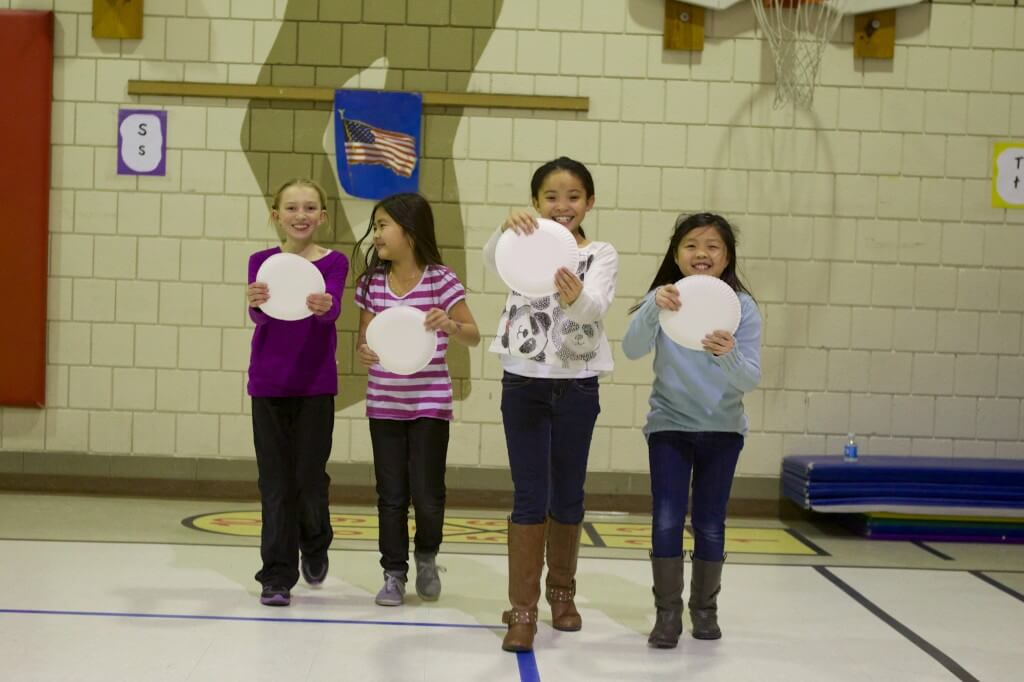
You’re Carrying That?! Facilitate a brief discussion of what kinds of things young people carry in their backpacks and whether they are necessary or not. Then play a little game: Who Has a _______ in Their Backpack? As you name different items, young people who have that item in their backpacks should pull them out and hold them up:
Text book
Personal book
Food
Charm or good luck item
Homework from last semester (or year or month)
Art project
Phone or other electronic
Pencil or pens
Clothing
Shoes
Water bottle (who has the smallest one? who has the biggest one?)
Toy or game
Sports equipment
Music of some sort
Add your own! (You might want to have a contest for strangest item and have the young people vote on it.)
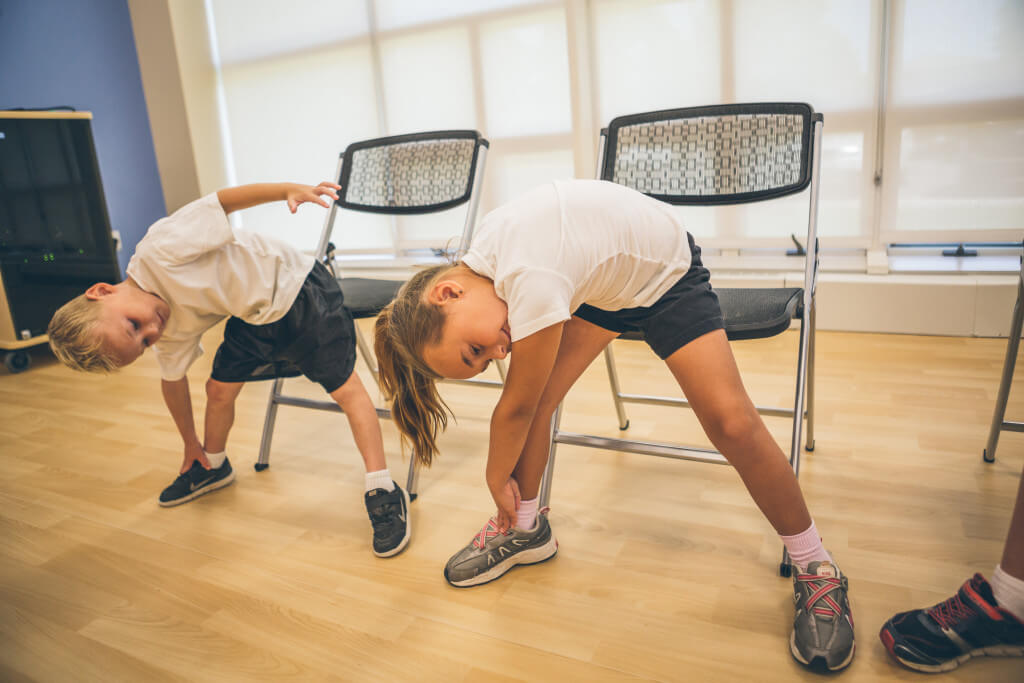
Getting the Right Fit: Ask young people to work in pairs to help each other get the best fit out of their backpacks that they can. If someone doesn’t have a backpack, they can join a pair to form a group of three. Have each young person take a turn being fitted and being a fitter. Here are the guidelines they should follow:
Wear both straps. They should fit comfortably on your shoulders and under your arms.
Adjust the straps so the bottom of the backpack rests In the contour of your lower back. Don’t let it sag down toward your butt.
Adjust the straps so the backpack is centered evenly in the middle of your back.
if you have a waist strap, use it. This helps distribute some of the weight onto your pelvis, which relieves pressure on neck, shoulders and back.
If a young person’s backpack isn’t too heavy and it fits well, that’s great!
If a backpack is too heavy, encourage them to make changes that will help reduce the risk of pain and injury. This can include reducing the weight they are carrying by cleaning out their bags each week, taking something out and carrying it in their arms, and leaving extra items at home or at school.
If their backpacks don’t fit well, encourage them to stick with some changes they made today. Buying a new bag may not be feasible, but regularly checking to make sure the straps are where they should be can help.
Hand out the Healthy Families Newsletter in English and Spanish so that families can continue to discuss and practice backpack safety at home.
 Back to Top
Checkout some other fun related activites. See all >
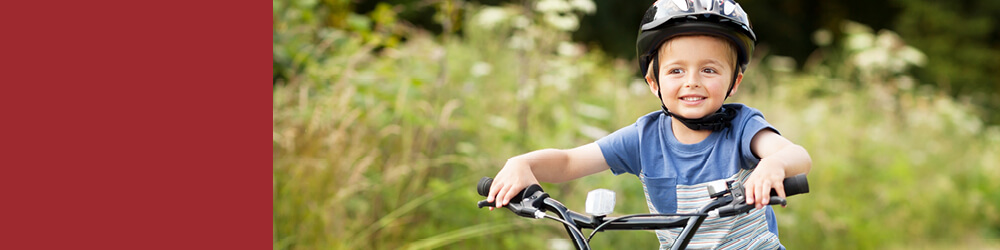
Young people learn about important steps they can take to stay safe and healthy while cycling.
3-8 Years Old
30 Minutes
To find out how this health safety lesson fits Physical Education and Health Education standards click here.
Riding a bike is a great way to stay fit, get around your neighborhood or town, have fun with family and friends, and enjoy the great outdoors. While bike riding can be so good for our health, there is also a risk of crashing or falling. Many times we are sharing trails with other bikers or walkers, sharing roads with cars, or riding on rough terrain. It’s important when we’re riding to do everything we can to stay safe. This lesson focuses on four ways to do that.
Introduce the idea that your bike is a vehicle. There are basic things that anyone has to learn before driving a vehicle. While we don’t need a license to ride a bike, there are still things we need to do to stay safe.
Credit: BikeMN (bikemn.org/education/walk-bike-fun)
Cycling has lots of great benefits and is fun! By taking these simple but very important steps you can ensure that you “Drive Your Bike” in the safest way possible.
Hand out the Healthy Families Newsletter in English or Spanish so that families can continue to discuss and practice cycling/bike safety at home.
Bike safety: Understanding the rules of the road
Back to Top
Checkout some other fun related activites. See all >
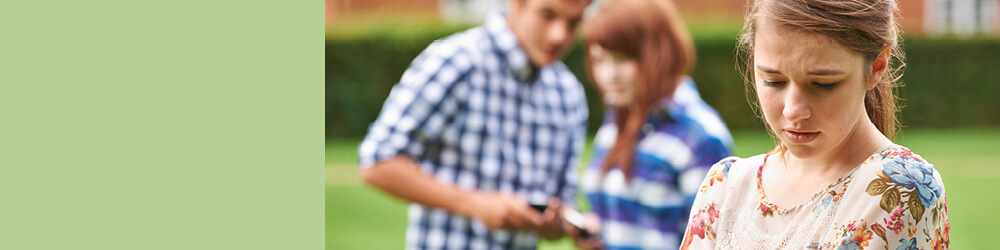
To help kids learn how to stay safe online by understanding what cyberbullying is and learning ways to prevent it or stop it.
9-14 Years Old
30 Minutes
To find out how this health safety lesson fits Physical Education and Health Education standards click here.
This lesson explores what it means to stay safe online. It focuses on cyberbullying and helping young people understand what it is, reflect on their experiences of it, and learn ways to prevent it or stop it.
Cyberbullying happens when kids bully each other through electronic technology such as Facebook, Snapchat, Instagram, group chats, online games, or other platforms. Bullying, as described by stopbullying.gov, is “unwanted, aggressive behavior among school aged children that involves a real or perceived power imbalance. The behavior is repeated, or has the potential to be repeated, over time. Bullying includes actions such as making threats, spreading rumors, attacking someone physically or verbally, and excluding someone from a group on purpose.”
Cyberbullying can happen in very small ways, such as consistently posting mean comments or messages, or very significant ways, such as spreading widely unkind or false information about someone.
This lesson focuses on helping kids understand what cyberbullying is, why it’s not okay, and how to stop it.
There is no one easy way to stop any kind of bullying from ever happening, but by introducing young people to these ideas now you help them start to build the tools to prevent or stop it from happening if and when they encounter it.
Hand out the Healthy Families Newsletter in English or Spanish, so that families can continue discussing how to recognize, prevent or stop cyberbullying.
Back to Top

To help kids learn how to manage their online presence so that it is in line with how they want to be seen in real life and make good choices about the online content they view.
9-14 Years Old
30 Minutes
To find out how this health safety lesson fits Physical Education and Health Education standards click here.
This lesson explores what it means to leave a digital footprint and discusses what a digital imprint is. It helps young people learn about their own online presence and activity, and make changes if they decide to. This lesson also includes an interactive worksheet and online activities.
Staying safe online means different things to different people. Knowing what your digital footprint is, is part of staying safe and healthy. A digital footprint is the trail of information you leave behind when you use the internet. Depending on your values, priorities, age, life stage, school, family expectations and other factors, you’ll want to set and keep boundaries that work for you.
What can you do if you discover things you don’t like about your digital footprint?
Hand out the Healthy Families Newsletter in English or Spanish, so that families can continue discussing the impact of a digital footprint and digital imprint and necessary actions to stay safe online.
Back to Top

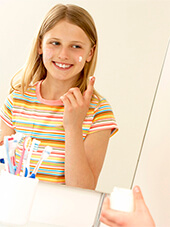
Young people learn about basic changes they should make in their daily hygiene practices during puberty.
9-14 Years Old
45 Minutes
To find out how this health safety lesson fits Physical Education and Health Education standards click here.
Most kids know by age 8 or 9 that changes will start happening to their bodies as they get closer to being teenagers and then young adults. What a lot don’t know, however, is that there are also some changes they’ll need to make in how they care for themselves.
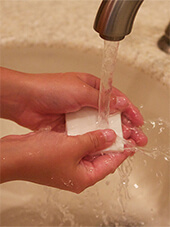
Parents, teachers, and other care givers spend quite a bit of time and energy helping kids learn basic hygiene when they are very young: how to wash hands and for how long, brushing teeth, coughing or sneezing into the elbow, and so on. This kind of teaching and coaching is a lot less common, though no less important, for older youth, especially as their bodies begin to change.
When you go through puberty, a lot of physical changes happen. These changes mean that you will have to learn different ways to care for yourself.
Here are some common changes that affect both boys and girls.
Thank the students for their participation in a sensitive conversation. Let them know that puberty can be intimidating but that everyone goes through it and if they have questions or are having a hard time they should be sure to talk to you or another adult they trust.
Hand out the Healthy Families Newsletter in English or Spanish so that families can continue discussing the changes that come with puberty at home.
Back to Top
Checkout some other fun related activites. See all >
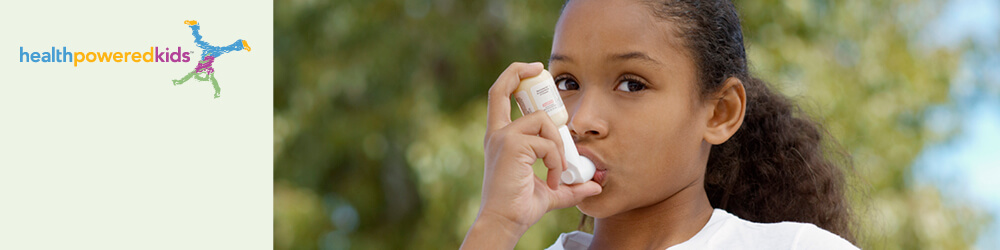
Young people will learn what asthma is, what people who have asthma can and can’t do, common triggers and different ways to care for asthma.
9-14 Years Old
30 Minutes
To find out how this health safety lesson fits Physical Education and Health Education standards click here.
Asthma is a disease that causes the small airways in your lungs to become inflamed or swollen. It may also lead to airway spasms. Both of these conditions narrow your airway and make it hard for you to breathe.
Commons asthma triggers include:
Warning signs of an asthma attack vary from person to person. In general, the following are signs of an attack:
You can manage asthma by:
Asthma Medicines for Children
There are different kinds of medicines to treat asthma. Different medicines work for different people. Two common kinds of medicine are:
Controllers. These are used daily to help prevent a person’s airways from getting inflamed. They are also called anti-inflammatories.
Rescuers (relievers). These are used when person is having symptoms to keep an asthma flare-up from getting worse. Rescuers sometimes can help relieve asthma symptoms. They are also called bronchodilators. It is important for people with asthma to always keep a supply of rescue medicine on hand, and keep this supply up-to-date.
Ask them to flip over their checklists to the “How to Care for Asthma” side and to work in pairs to brainstorm things they can do to support a friend or family member who has asthma, or to manage their own asthma if they’ve been diagnosed. For a friend or family member this might be reminding them to take their medicines, being kind and understanding if they have to take a break for an activity, not wearing strong perfumes or other scents around them, or telling a teacher or other adult right away if they think someone is having an asthma attack. For themselves it might be remembering to do all these things. Encourage young people to be creative with this brainstorm.
Ask young people to say aloud their ideas and make a list on a white board or flip chart paper of the ways they can support people with asthma or manage their own asthma. The idea is to build awareness of and compassion for people who live with this chronic condition. Distribute the Healthy Families Newsletter in English or Spanish and ask them to be sure to share it with their parents.
Asthma 101: Helping kids breathe easy
Asthma videos – Allina Health Video Library
Centers for Disease Control and Prevention
Back to Top

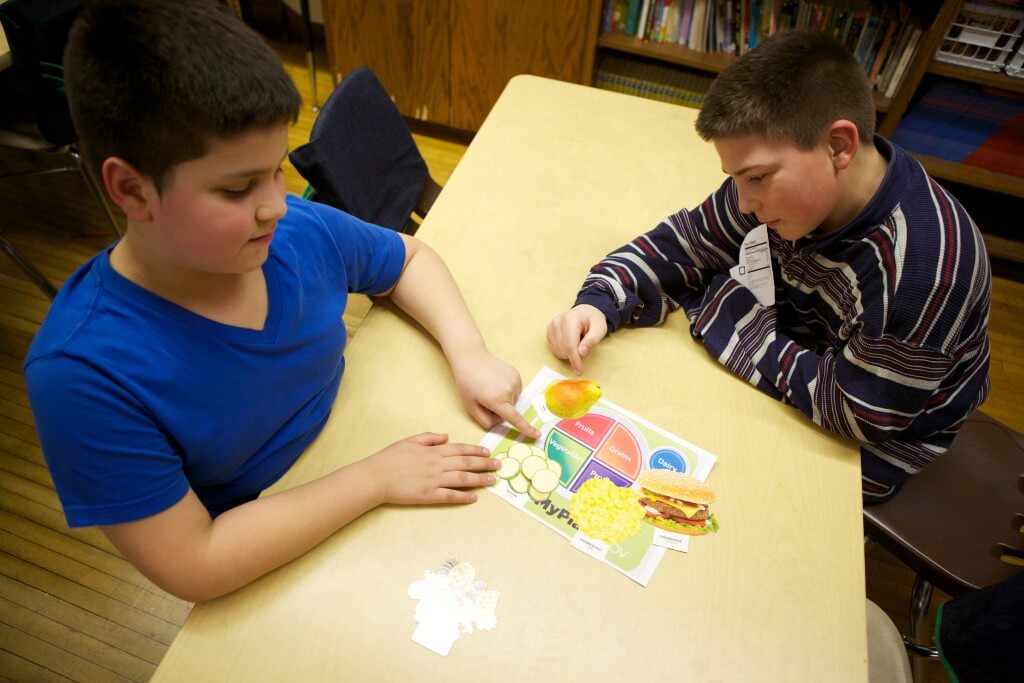
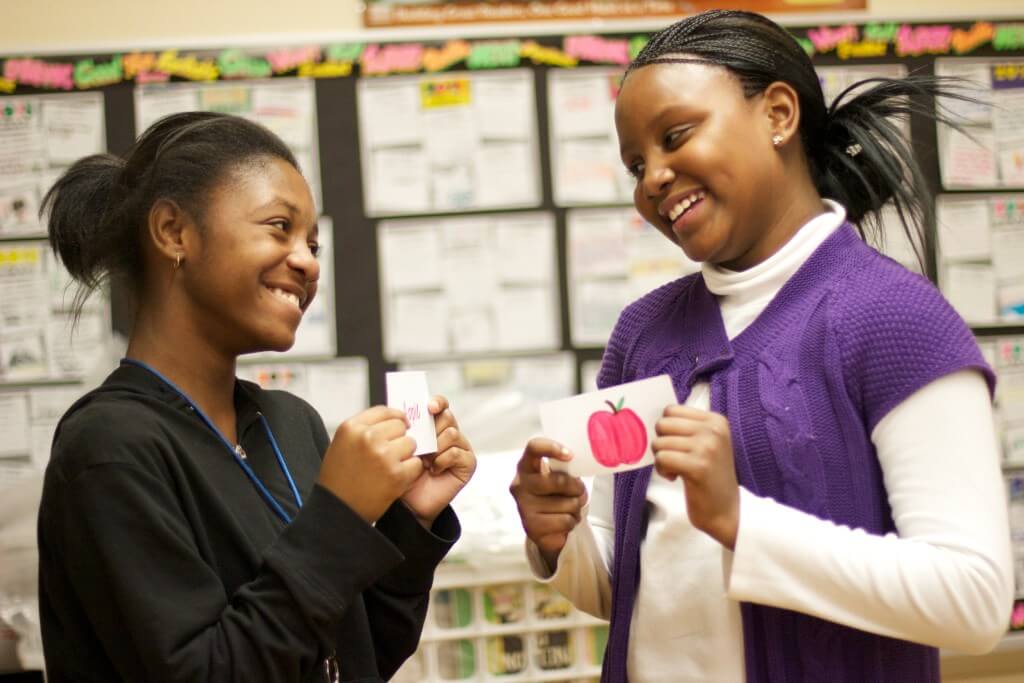
Youth will try a new fruit or vegetable that they have not had before to see if they like it, and will be encouraged to be open to trying more healthful foods over time.
3-8 Years Old
20 Minutes
To find out how this health safety lesson fits Physical Education and Health Education standards click here.
Picky eating often occurs at ages 3 to 5. At this age, children like to explore food rather than eat to it. Usually it is a phase that children go through and then grow out of over time. Children often refuse foods because of color or texture. Teaching them to explore foods and describe the flavors, smells and textures instead of just using words like; “like or dislike” can help improve their willingness to try new things over time.
Children don’t always take to new foods easily or right away. Here are some tips that can help a child learn to like new foods.
Source: http://www.choosemyplate.gov/preschoolers-picky-eating
Hand out the Healthy Families Newsletter in English or Spanish and encourage young people to surprise their families at the next meal they share by using one or more of the words you talked about and learned today to describe taste, texture or smell.
http://www.choosemyplate.gov/preschoolers-picky-eating
Back to Top
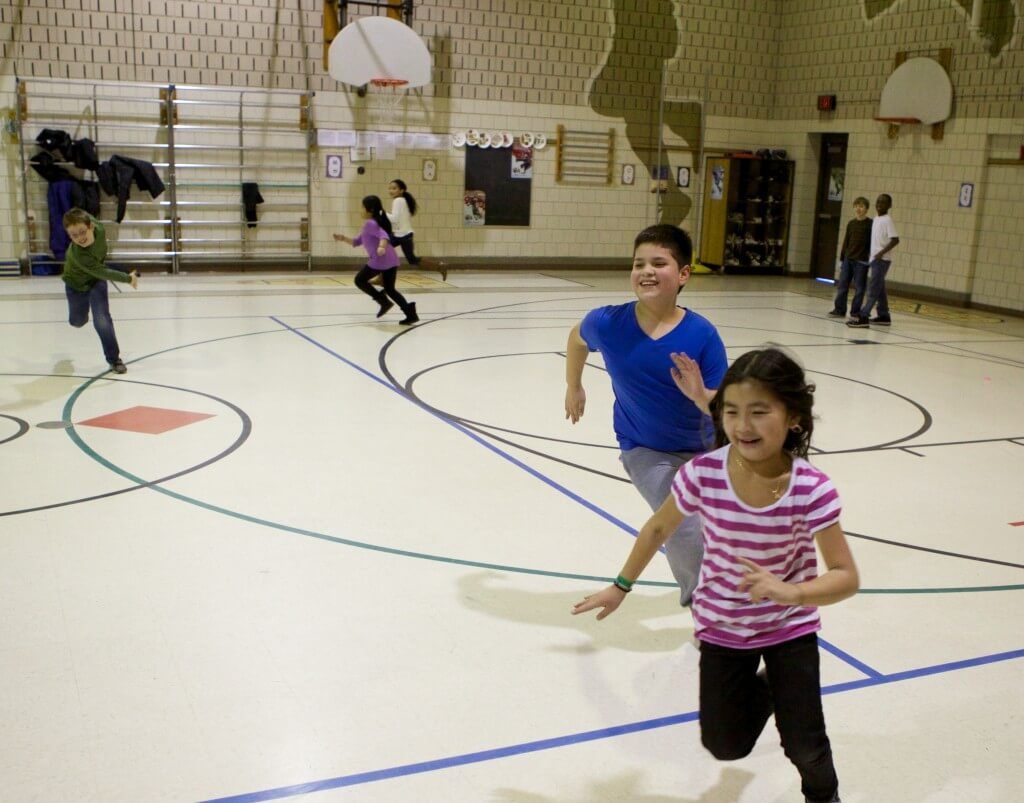
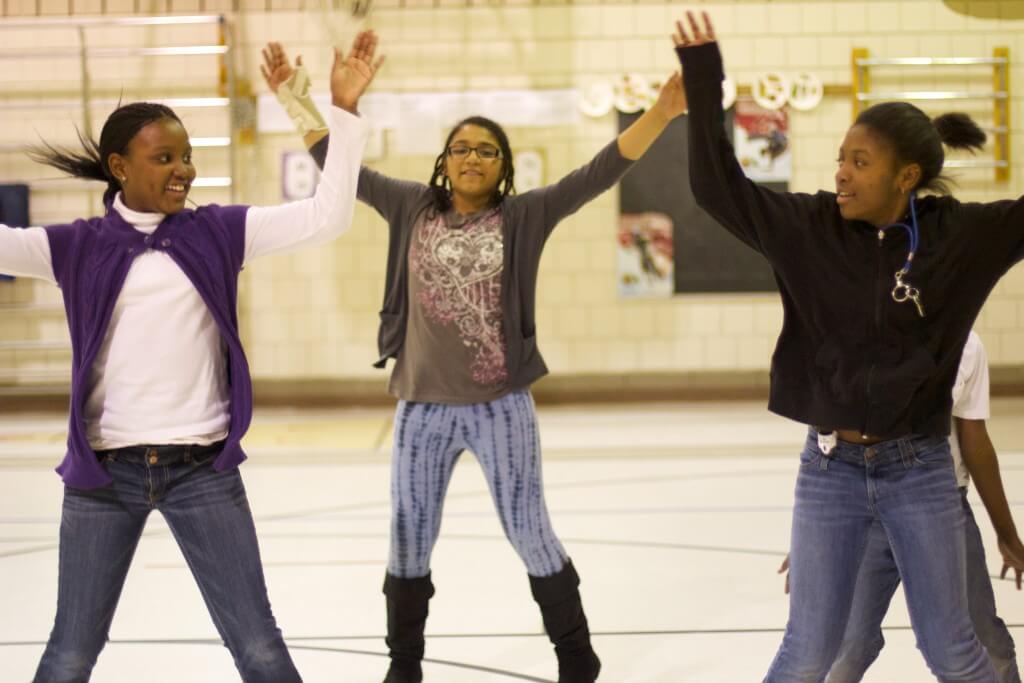
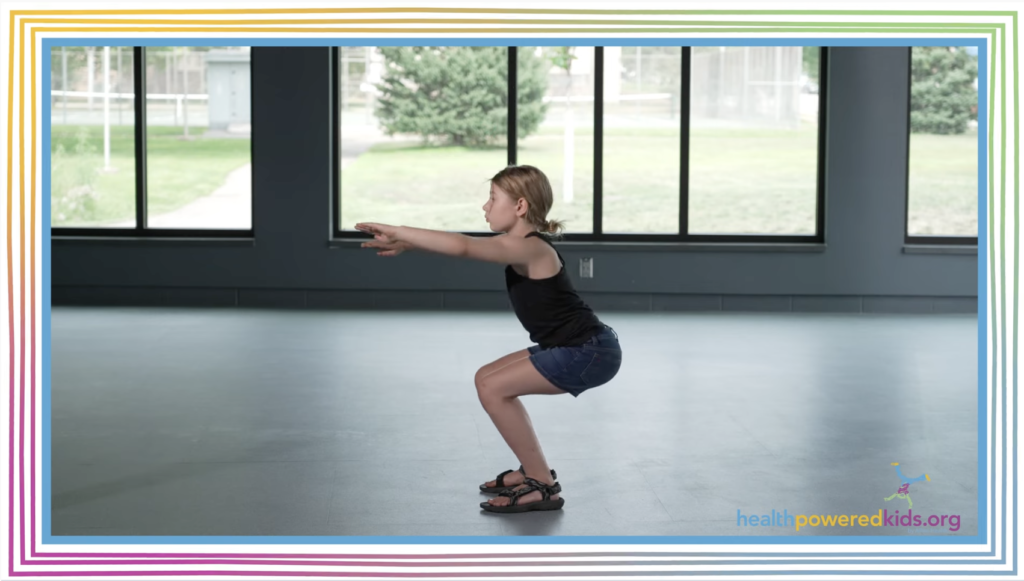
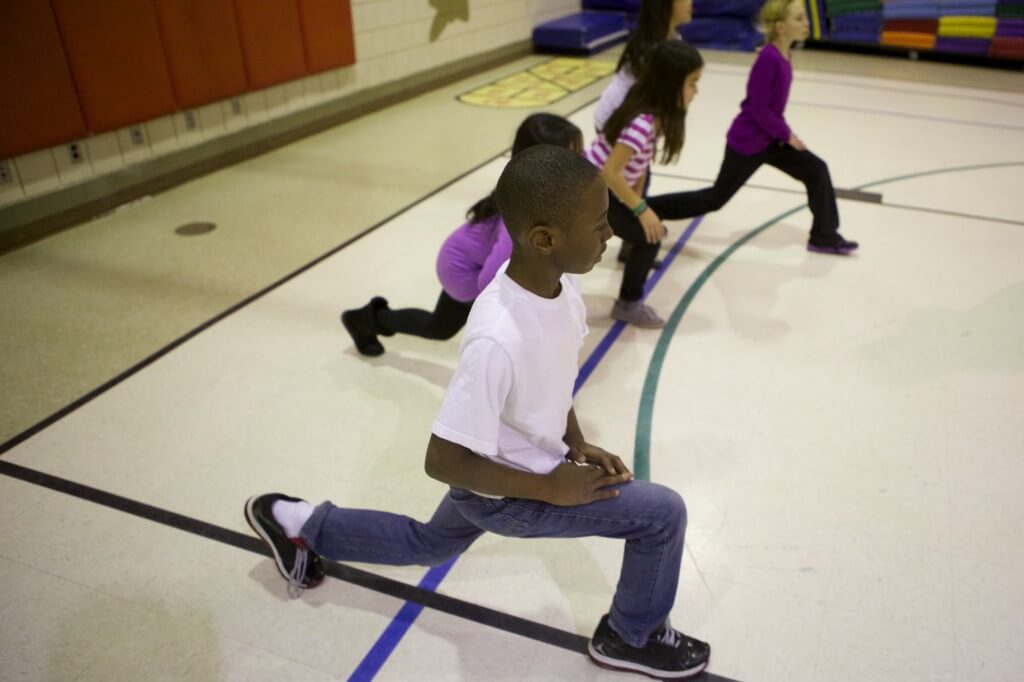
A set of quick activities to ignite bursts of energy. See all >
Young people will learn what it can be like to have a brain injury such as a concussion, and steps they can take to prevent it.
9-14 Years Old
30 Minutes
To find out how this health safety lesson fits Physical Education and Health Education standards click here.
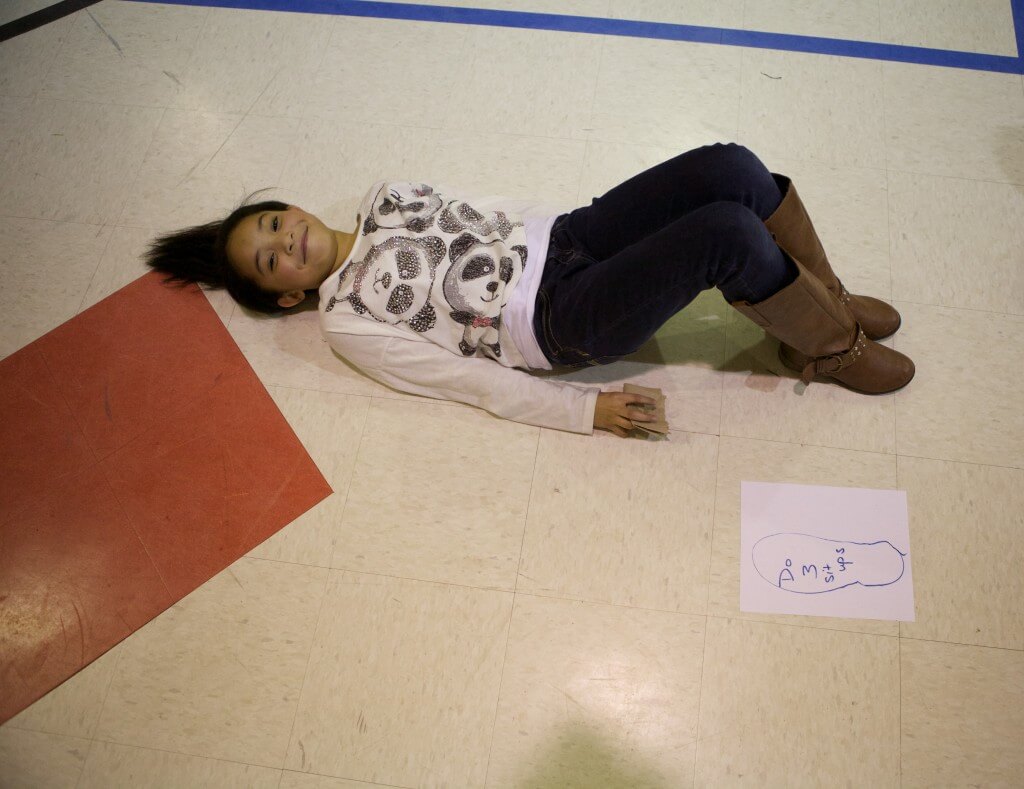
This lesson helps young people understand the basic concepts of concussions. Youth will discuss brain injuries and complete a KWL chart (already Know, Want to know, what I Learned) to list facts about concussions. A hands-on learning activity gives young people a chance to experience what living with a brain injury may be like. Finally, the youth will reflect on what they learned about brain injuries and how to prevent them.
Before facilitating this lesson, you may want to review the following information about concussions. These facts can be shared with young people during your discussions.
Young people who play sports or are active other ways, such as riding bikes or playing on the playground, are at risk for concussion. This is a blow to the head that affects how the brain works. It is a form of brain injury. You can’t see it but it causes changes in a person’s behavior, thinking or physical actions.
Your brain is a soft organ that is protected by spinal fluid and your skull. Normally the spinal fluid acts as a cushion between brain and skull. When your head or body is hit hard enough, however, your brain can get knocked against your skull and be concussed. Signs of a concussion can occur right away or hours or even days after the injury occurs. It’s possible to have a concussion even if you never lose consciousness. Signs and symptoms of a concussion can include:
Long-term problems are possible if a person has more than one concussion, or is re-injured before the brain fully heals. That’s why rest, seeking medical treatment, and following a doctor’s instructions are all important. Even better is to prevent concussions in the first place. The Centers for Disease Control recommends these prevention methods:
Introduce the lesson by discussing concussions, how they occur, and why young people need to be aware of this type of brain injury. Use the information about concussions in the Instructor Notes above.
Ask if anyone in the class has ever had a concussion. If so, ask if they are willing to share a little bit about what that was like.
Hand out the KWL Student Activity Sheet. Invite the youth to fill out the worksheet with a list of things that they know and things they still have questions about on this topic. On a KWL chart, full sentences are not necessary; the ideas are more are important. Suggest they use bullet points or numbers to make their lists easier to read.
In advance of the lesson set up the stations as described below.
Explain that you have some stations set up with activities that are simulations of some of the possible effects of a brain injury such as concussion. Divide the young people into groups and have them move through the stations before holding a discussion at the end:
After the youth have completed the stations, reconvene the group a debrief using the follow questions as guides:
[1] Adapted from Sharon Thorson, Injury Prevention Specialist, and the Denver Osteopathic Foundation, and from the “Brain Injury Empathy Experience” of Mapleton Center for Rehabilitation.
[2] ibid.
To conclude the lesson, ask the young people what they now know about how to prevent concussions. (Discuss and make sure they touch on all of the information mentioned above.)
Ask the youth to complete the last section of the KWL chart on the student activity sheet, listing things they learned about concussions.
Continuing the Conversation
Hand out the Healthy Families Newsletter in English or Spanish, which also includes these tips, so that families can continue discussing brain health and brain injuries at home.
Back to Top
A set of quick activities to ignite bursts of energy. See all >
Young people will learn basic things they need to do to protect and help grow their brains
3-8 Years Old
30 Minutes
To find out how this health safety lesson fits Physical Education and Health Education standards click here.
This lesson helps young people understand what they need to do to protect and help grow their brains. They will learn about activities and habits that help their brains develop and function at their best.
The brain is a very important organ. Without it, nothing else in a body can function. Scientists are learning more all the time about how brains grow and develop, and how we can best care for them.
Guide young people through the Brain Basics online learning activity. The main points are also listed below.
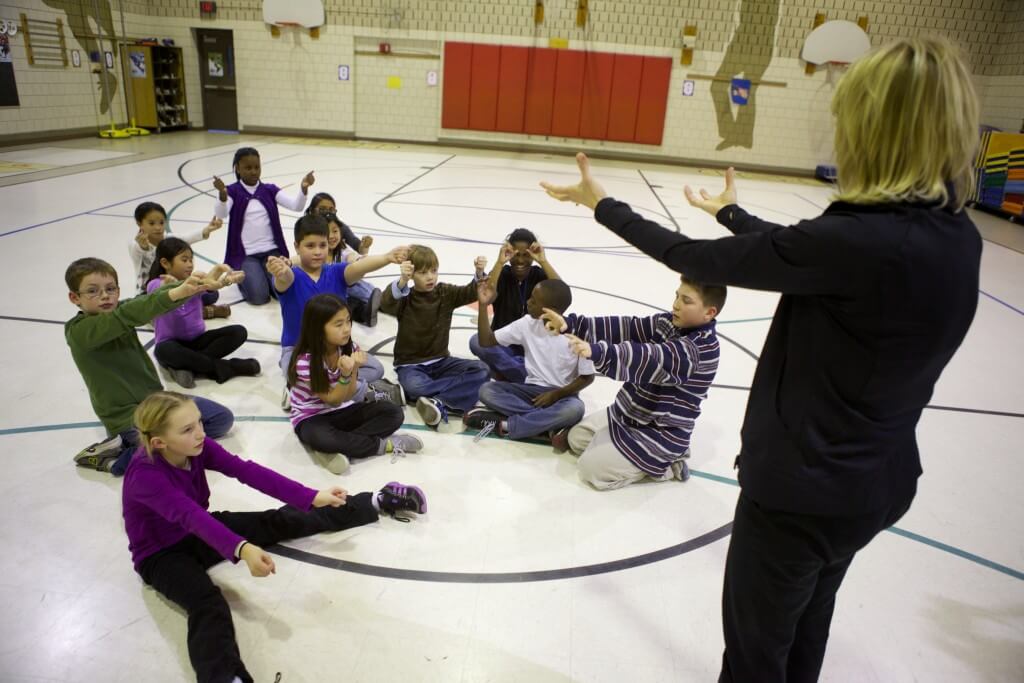
After giving students a bit of time to work on their activity sheets, play a game of concentration. There are lots of variations of this game, but here’s one: Players sit in a circle cross-legged and take a number each, starting with number one.
Students start chanting the following while slapping their thighs twice then clapping their hands twice:
Concentration (slap slap clap clap)
Are you ready? (slap slap clap clap)
If – so – (slap slap clap clap)
Let’s – go! (slap slap clap clap)
Then player one, continuing the rhythm, says their own number twice followed by another number in the circle.
For example: 1, 1, 4, 4 (slap slap clap clap)
Player 4 then does the same, starting with their own number and following with someone else’s:
4, 4, 7, 7 (slap slap clap clap)
Anybody who makes a mistake or doesn’t keep the rhythm is out but remains in the circle, making it more difficult for the other players, who must remember not to use the numbers of the people who are out.
After playing the game for a while, explain that games like concentration help your brain by forcing it to do more than one thing at a time (make your hands move, remember the pattern, think of a number, say and number, and so on). Ask if anyone has examples or ideas of other things that could help strengthen your brain. If anyone has an idea of a game give it a try if you have time.
If the youth did not have time to finish the activity sheets, encourage to finish working on them at home.
Hand out the Healthy Families Newsletter in English or Spanish so that families can continue discussing brain health at home.
Back to Top
A set of quick activities to ignite bursts of energy. See all >

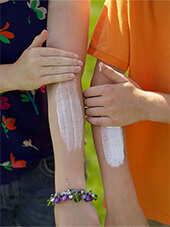
Young people will understand the basics of how skin works and what it does for them, as well as how to care for it.
9-14 Years Old
30 Minutes
To find out how this health safety lesson fits Physical Education and Health Education standards click here.
This lesson helps young people understand the basic structure, function, and care of skin. Youth will be introduced to the topic with an online interactive quiz. They will read about the skin, including tips for its care, then get creative by designing products and giving persuasive presentations.
This lesson focuses on three aspects of skin: its basic structure, the jobs it does for our bodies and how to care for it. You can introduce the topic by having young people take the Online Quiz either individually or as a larger group. Discuss the answers. Were there any answers that surprised you?
Give each of the young people a copy of the Skin Handout. Review the diagram and headings. If time permits, youth may want to read this before starting the activity below.
Skin health and skin care will always be an important part of our lives. Encourage young people to take the handout and newsletter home as references they can keep and perhaps share with other family members.
Hand out the Healthy Families Newsletter in English or Spanish, which also includes these tips, so that families can continue discussing skin health at home.
Back to Top
A set of quick activities to ignite bursts of energy. See all >