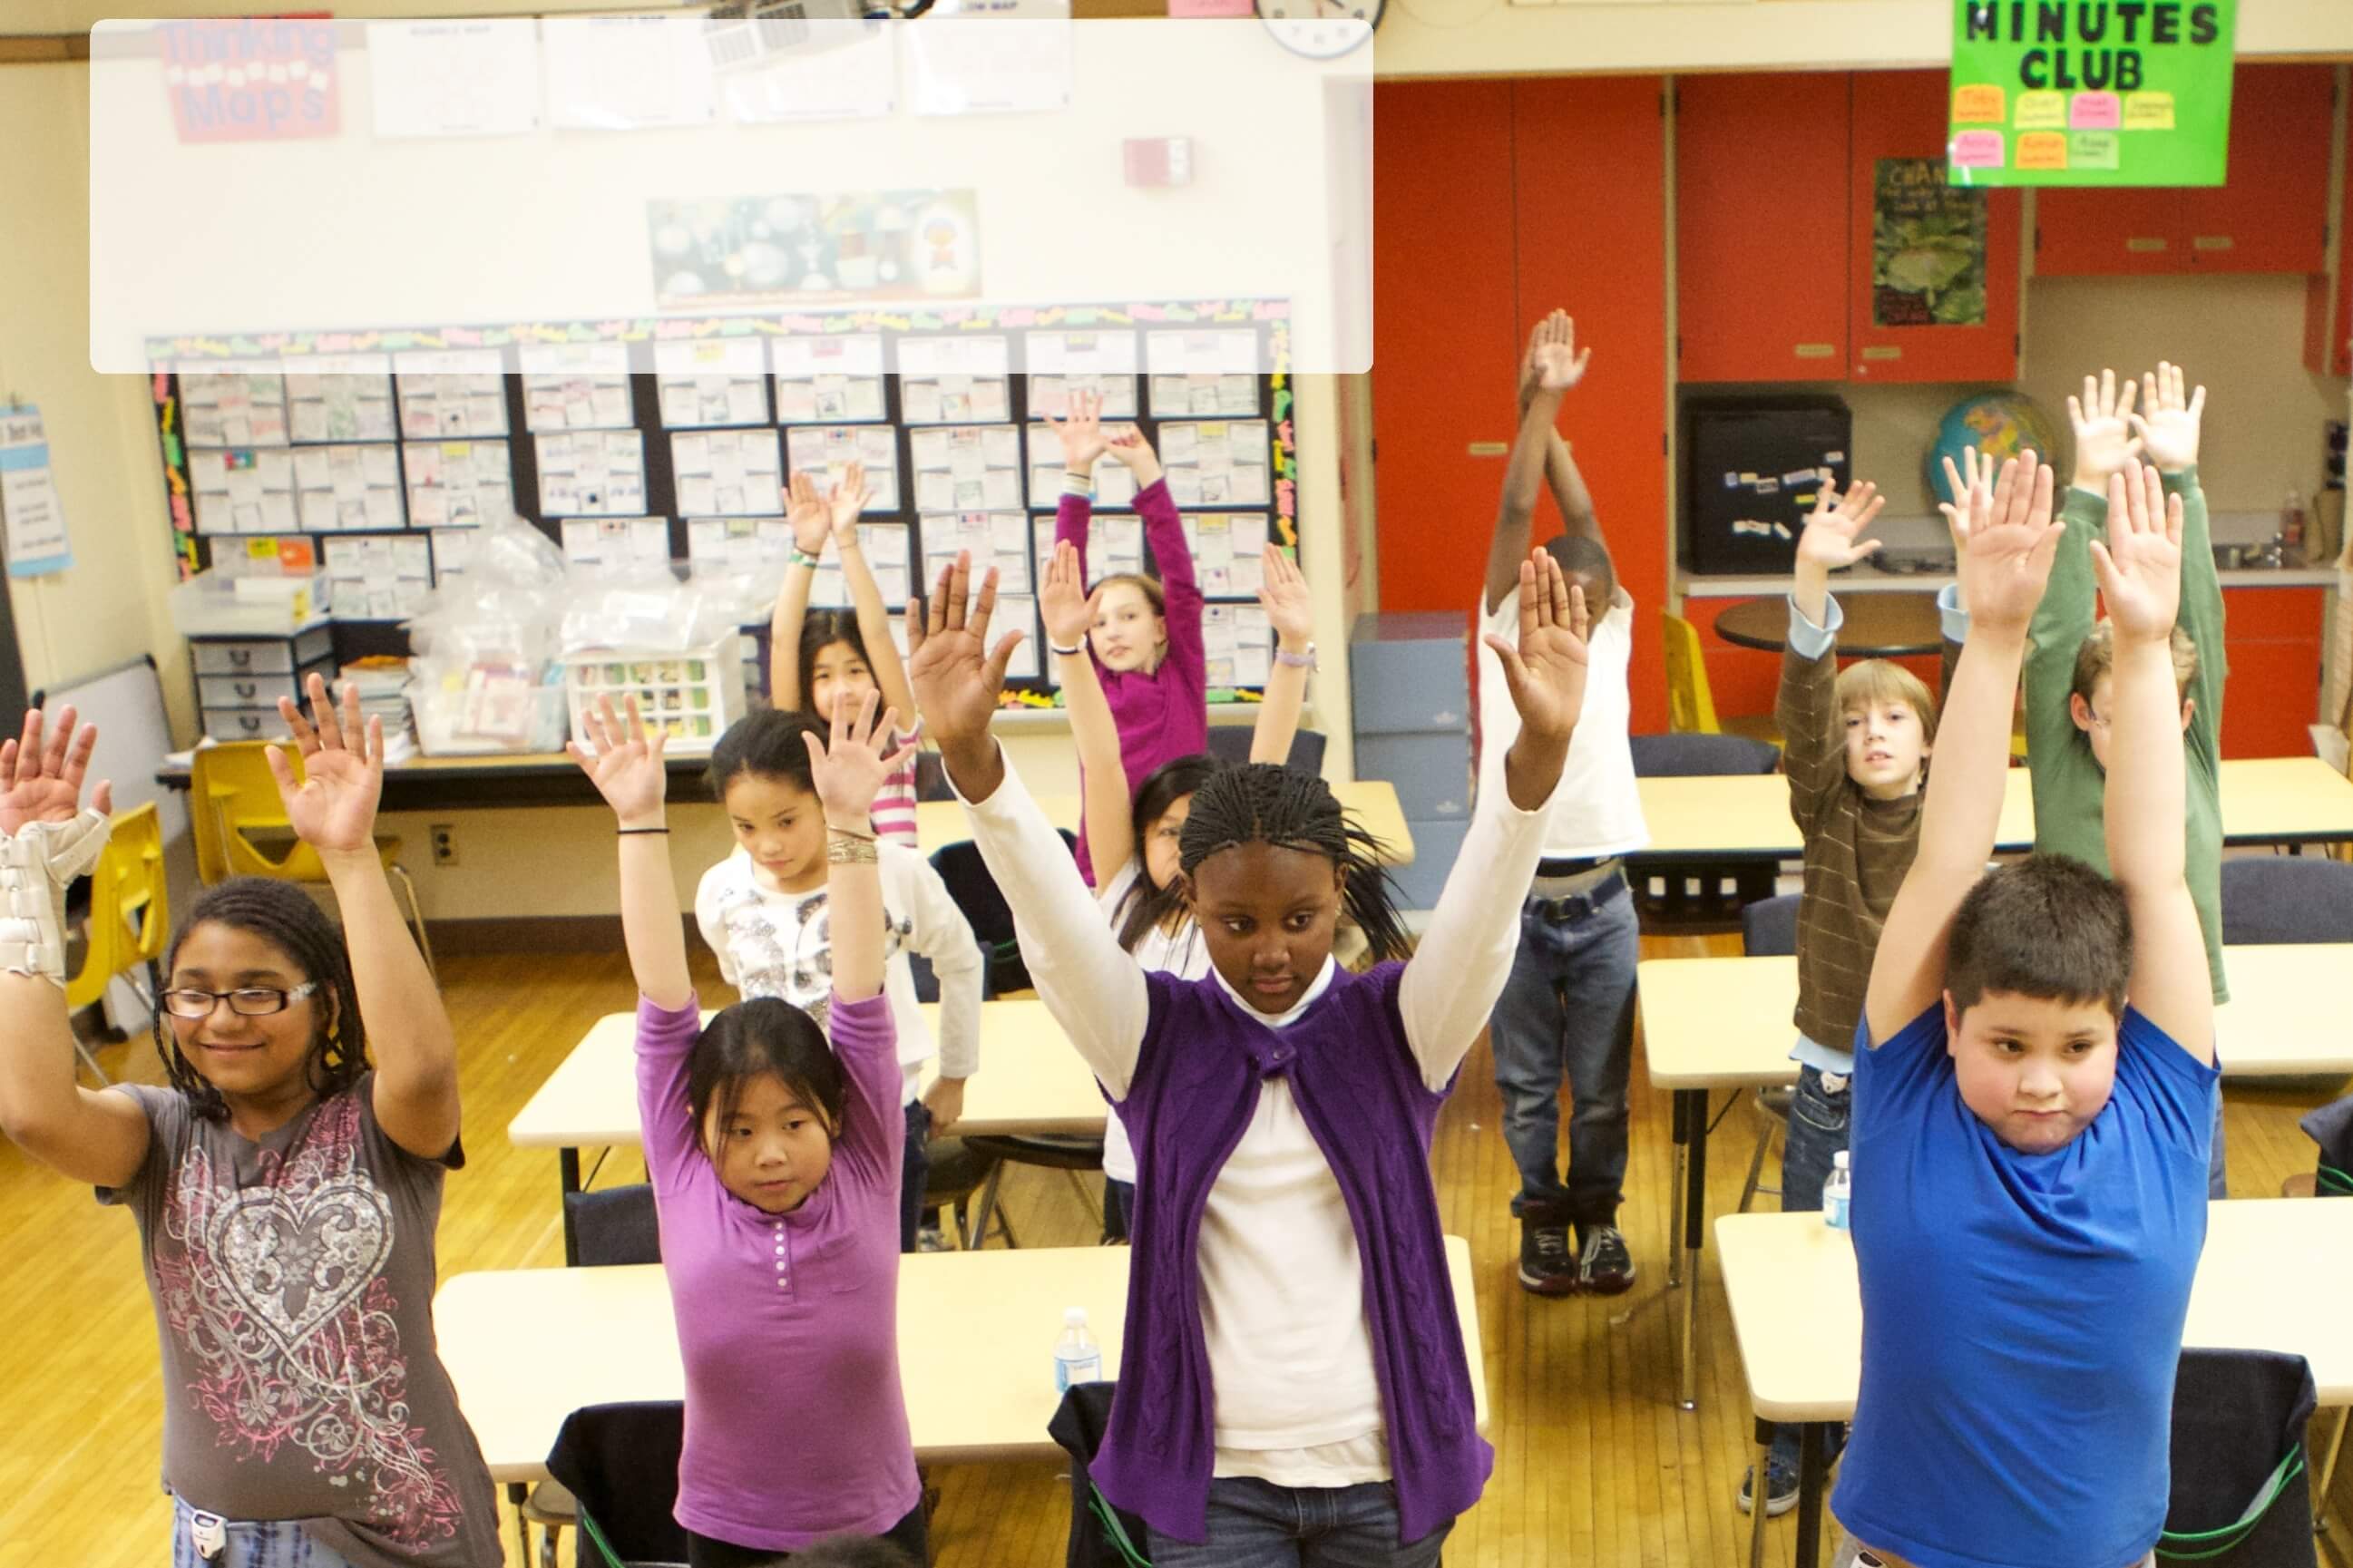
3-14 Years Old
10 Minutes
To find out how this lesson fits Physical Education and Health Education standards click here.
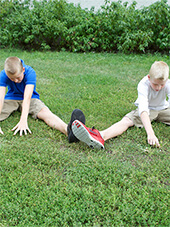
Sit in your chair or lie down on the floor on your back.
Begin to walk in the air. Keep your right leg straight and lift it up as you lift your left arm.
Breathe in as you lift. Breathe out as your arm and leg go down.
Then breathe in again and lift your left leg and right arm together.
Breathe out as your arm and leg go down.
Keep going. Lift your leg and stretch your arm straight up toward the sky.
Moon Walk balances the two sides of your brain and helps you think better.
 Back to Top
Check out some other fun related activities. See all >
3-14 Years Old
10 Minutes
To find out how this lesson fits Physical Education and Health Education standards click here.
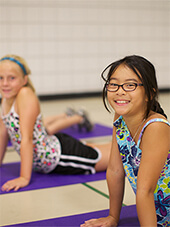
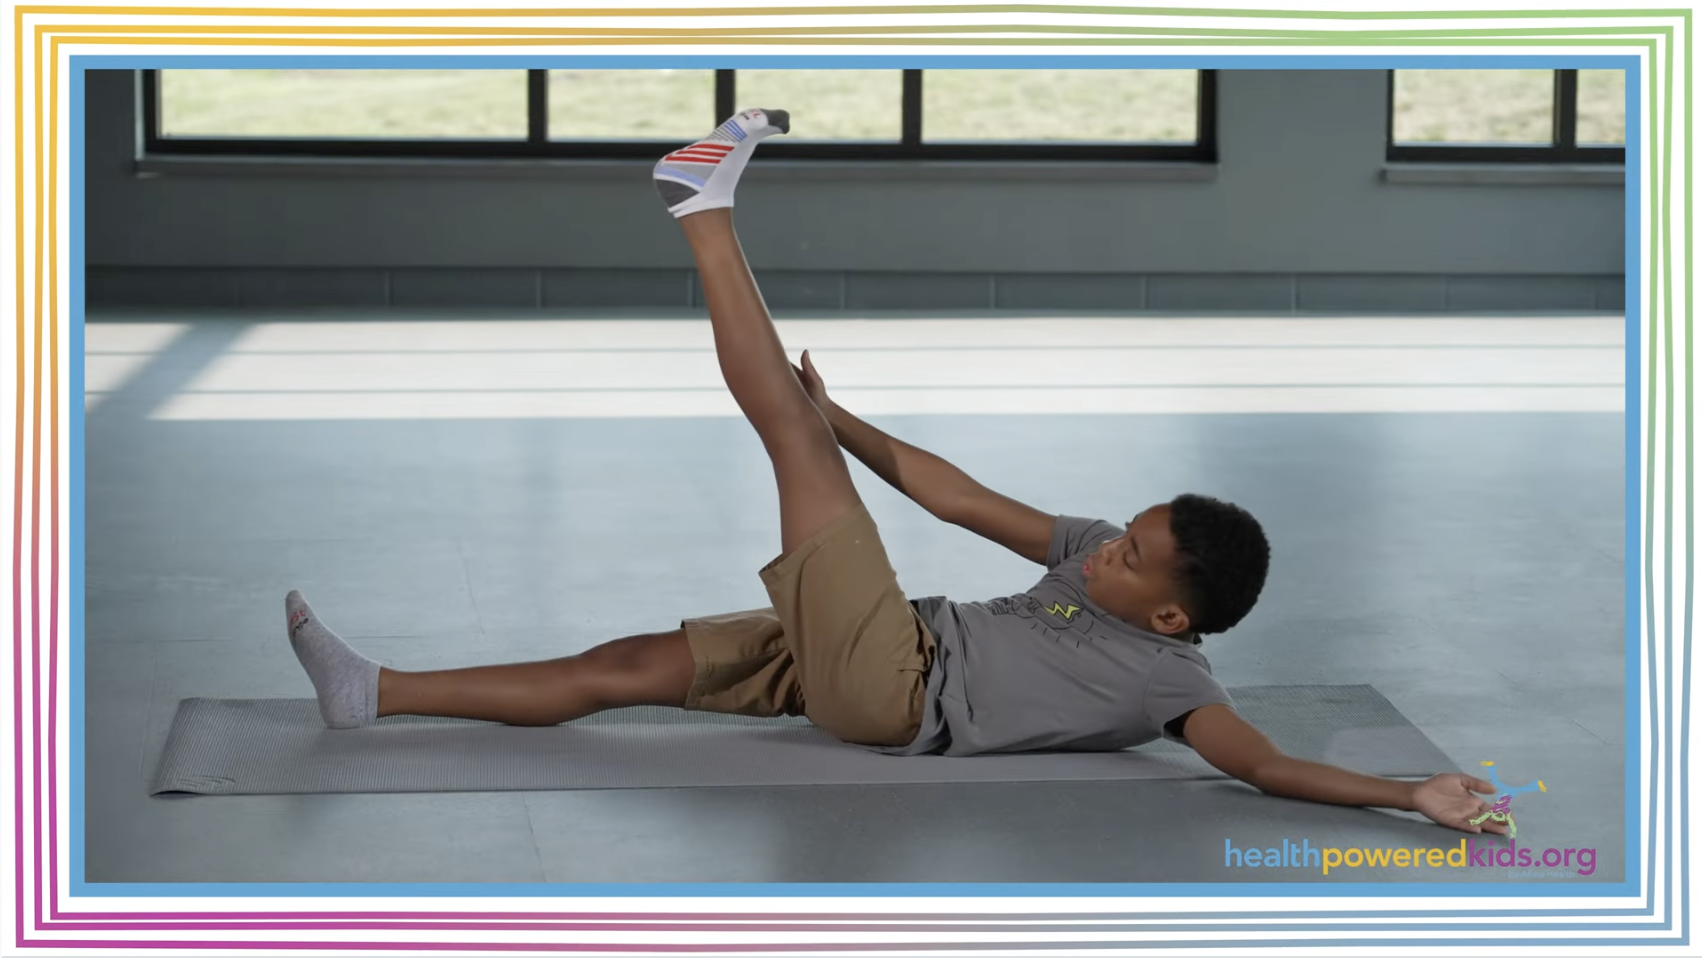
Sit on the floor with your feet in front of you and your hands behind you on the floor.
Breathe in and push yourself up into a kind of backwards push-up.
Make yourself into a perfectly straight line, like a shooting star, by pushing your stomach up and point your toes away from you.
Hold this pose for a count of 10, 20 or 30. Can you go for 50?
Shooting Star makes your arms, legs and stomach muscles strong.
You can also do this pose while sitting in a chair. Hold the edges of the chair and push up like the description above.
Back to Top
Check out some other fun related activities. See all >
3-14 Years Old
10 Minutes
To find out how this lesson fits Physical Education and Health Education standards click here.
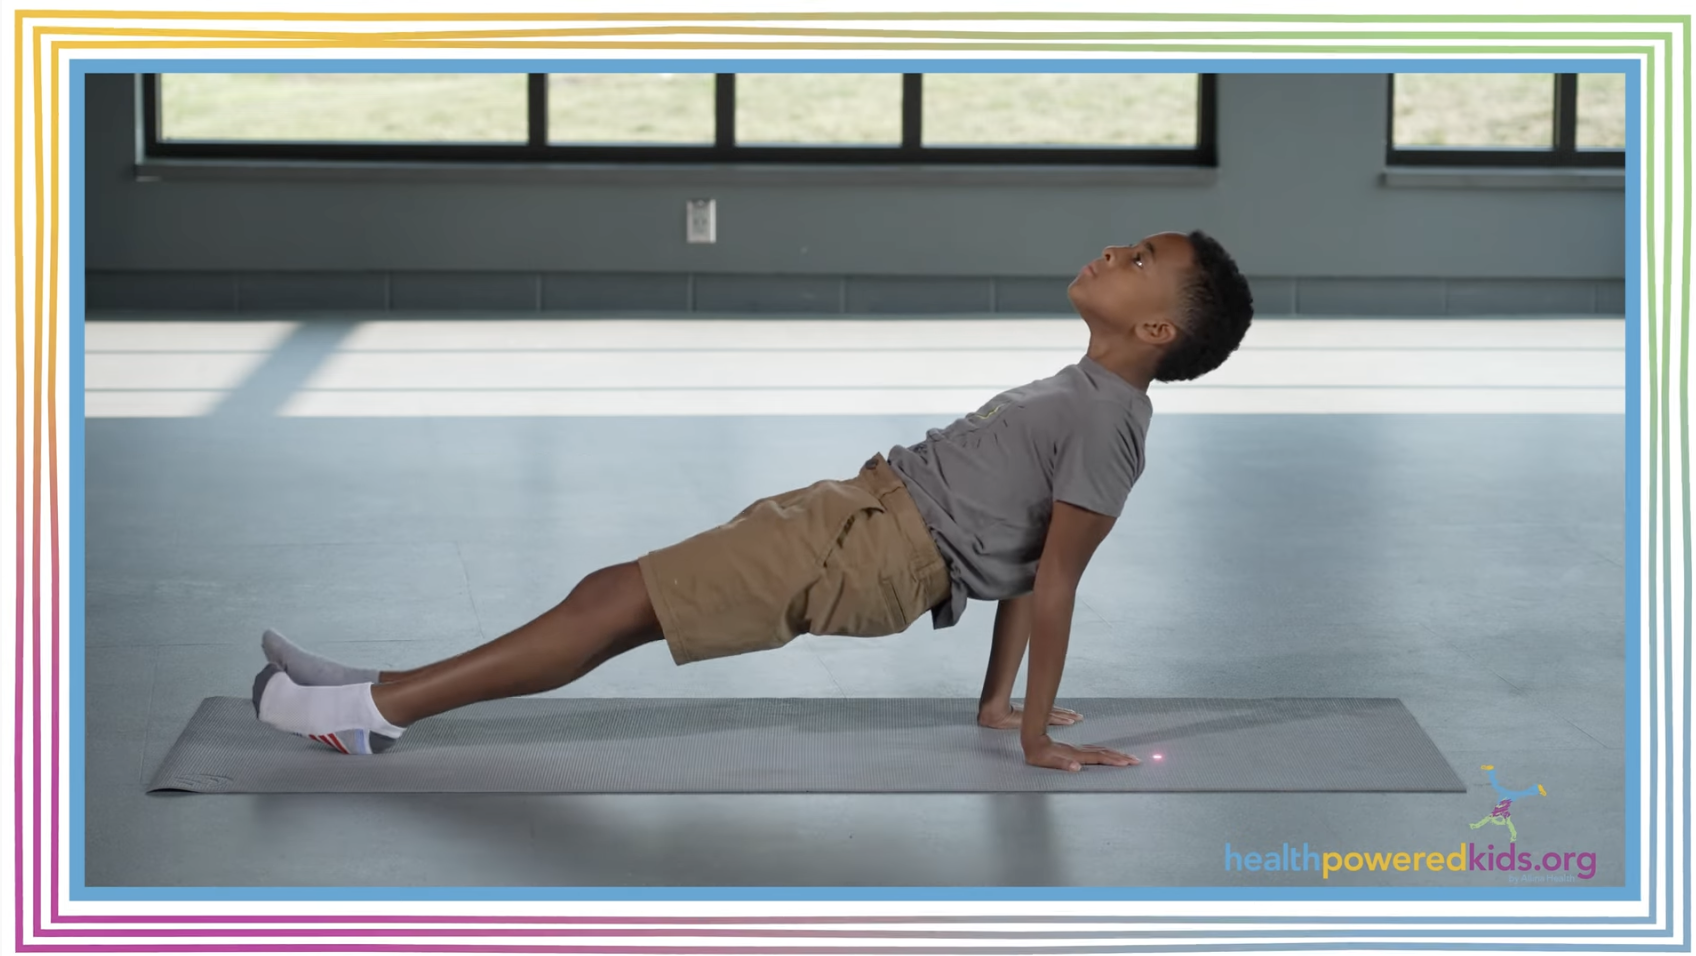
Sit on the floor with your legs crossed or in a chair with feet flat on the floor.
Take hold of your outside ankle. If you are sitting on a chair, hold onto the edges of the chair by the outside of your legs, above the knees.
Breathe in deeply as you stretch your body forward, chest and stomach out.
Breathe out as you slump back, spine is curved, chest is caved in.
Keep moving this way and get faster and faster.
Space float gives you a flexible spine. It keeps your back muscles relaxed and strong. It also helps you digest your food.
Back to Top
3-14 Years Old
10 Minutes
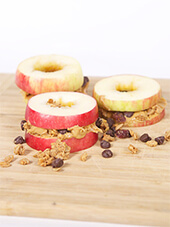
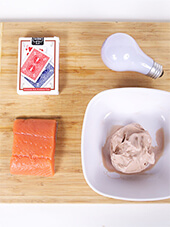
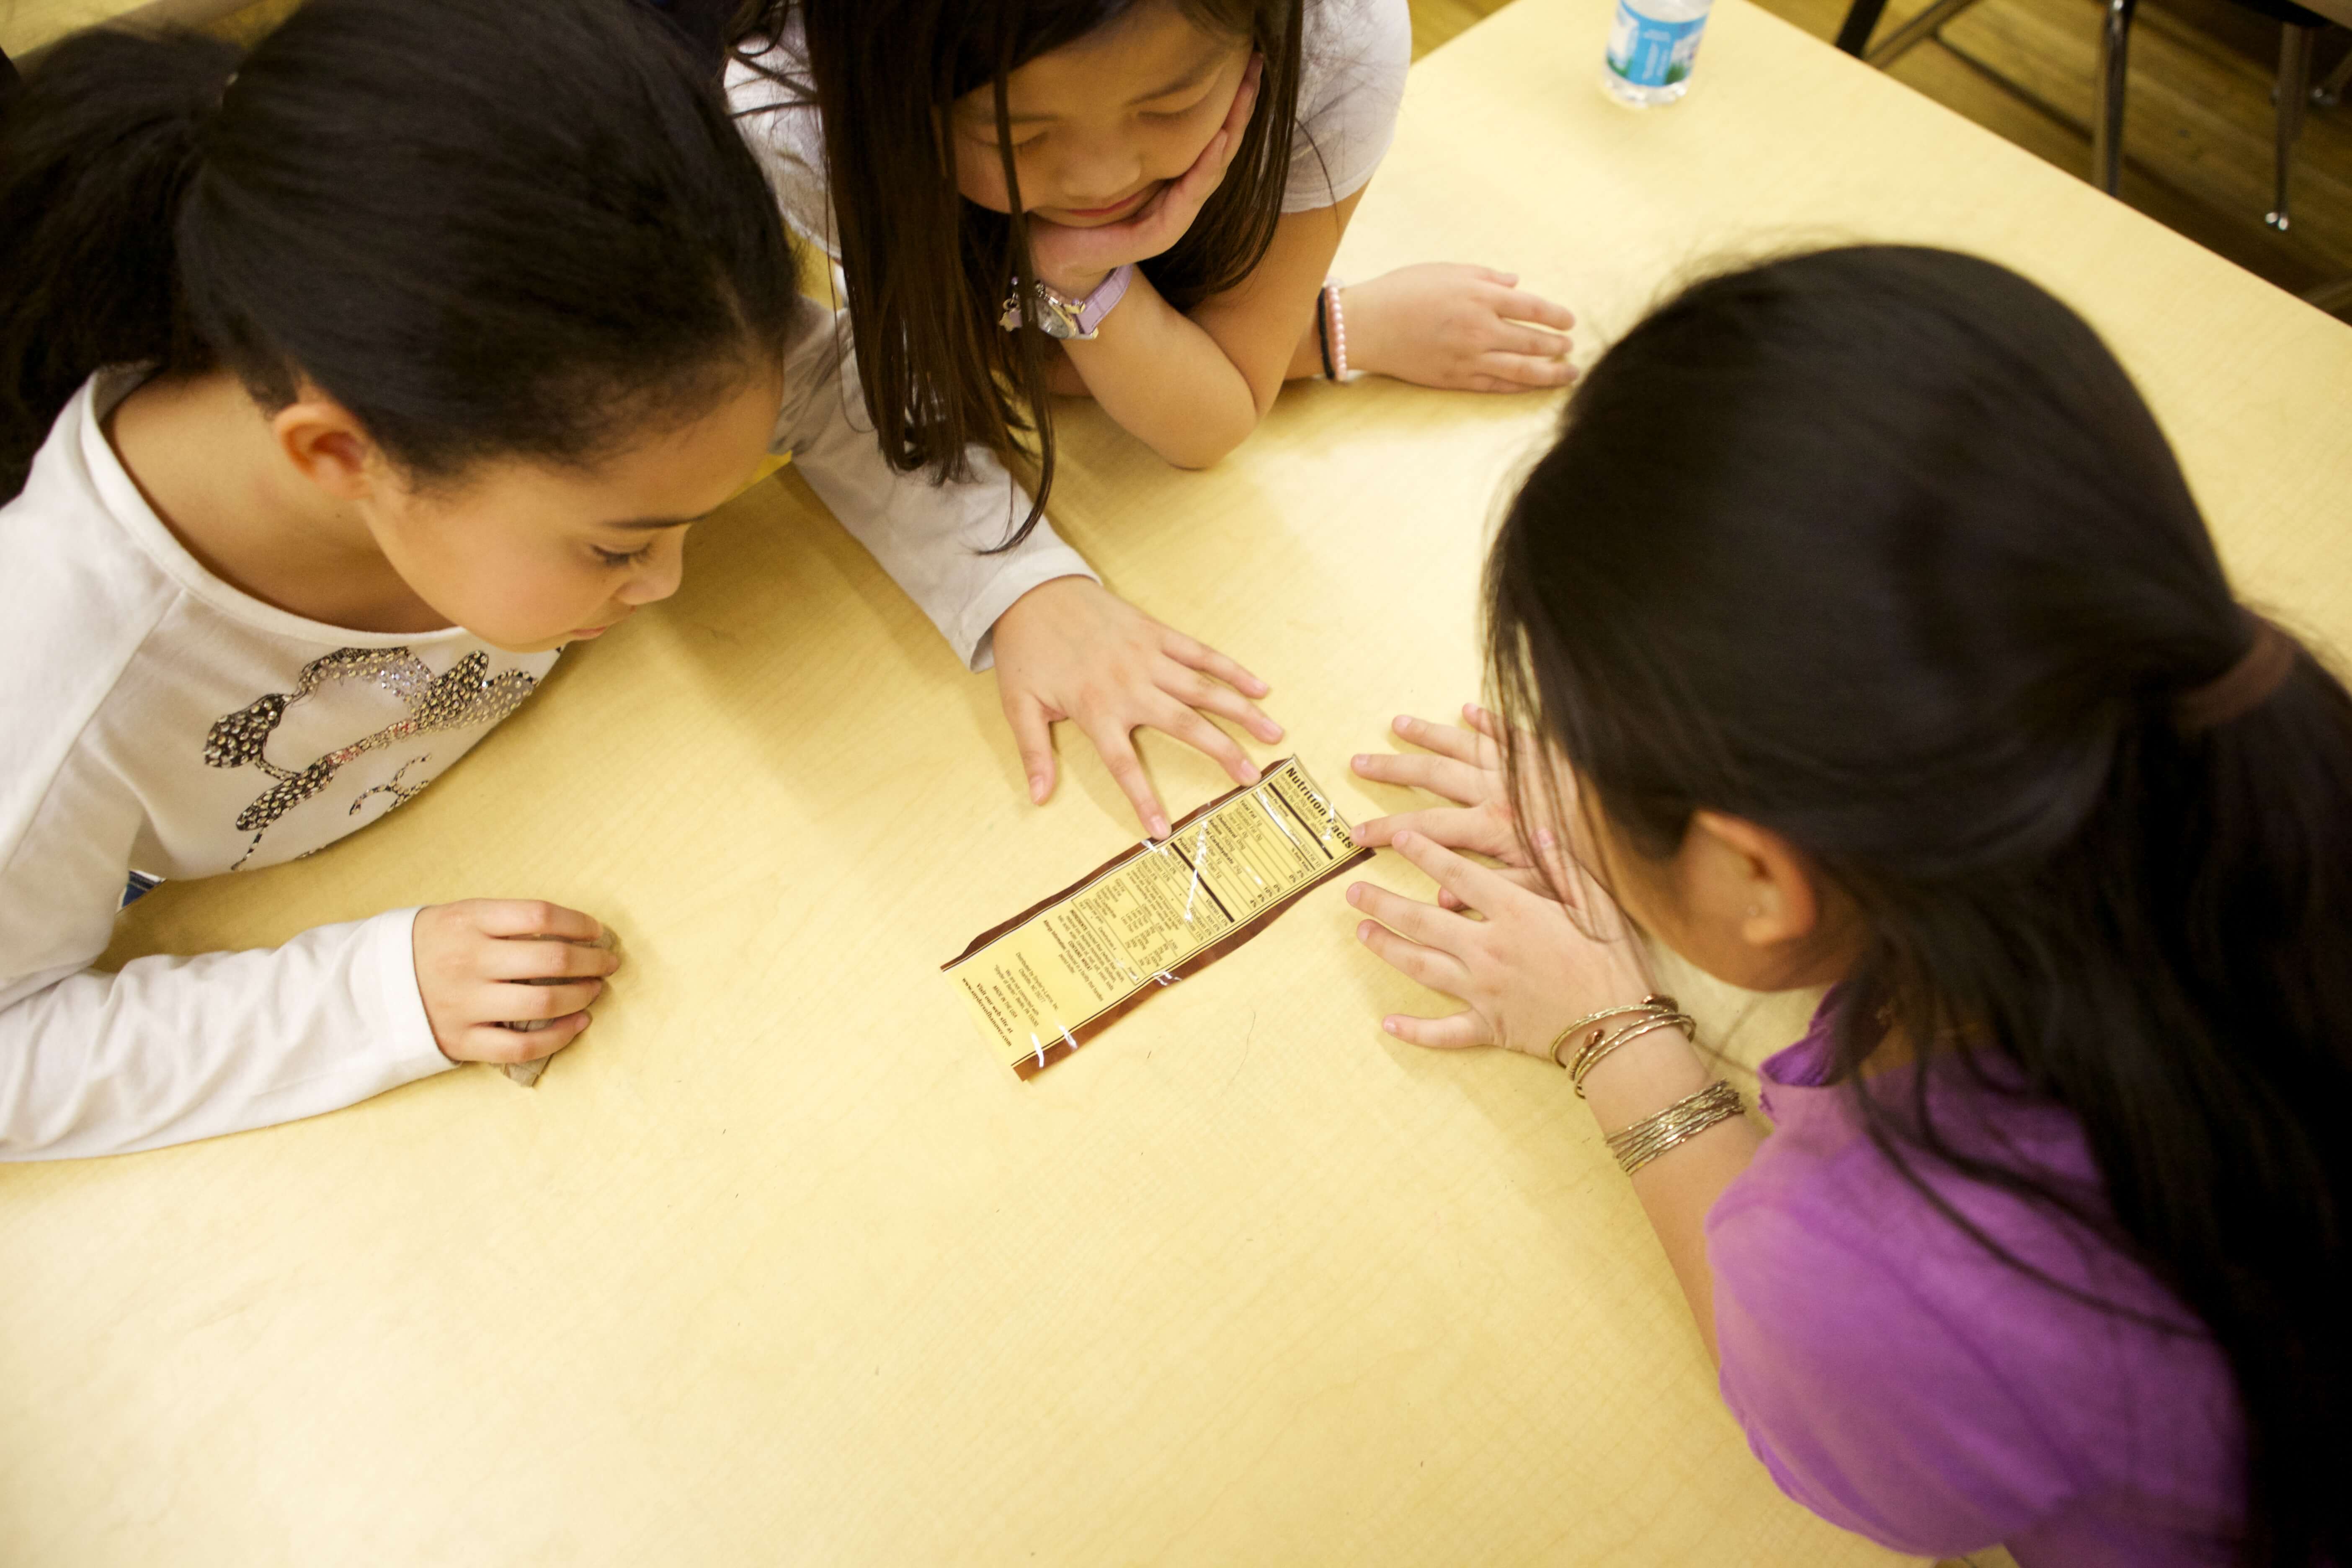
Nutrition labels
To find out how this lesson fits Physical Education and Health Education standards click here.
Have students bring in one or two Nutrition Facts Labels from home or provide them with one. Have the student read the ingredient list. (If the student is too young to read, the teacher can read the list.) When reading the label, look for words that:
Tell the students to jump up vertically for each number of words in the ingredient list (i.e. 6 ingredients=6 vertical jumps) and then have them jump side to side for every word that they cannot pronounce or don’t know how to say (i.e. can’t pronounce 3 words=jump side to side 3 times).
Note: Any other variations of body movements will work for this activity.
Compare these “foods” to foods that do not have an ingredient list, like apples or celery. The more ingredients listed on a food package and the more words that are hard to pronounce means that the food is likely more processed and may not be as healthful for us.
Another version would be to compare a homemade recipe, such as mayonnaise, to a store bought version. What are the differences?
Back to Top
Check out some other fun related activities. See all >
3-14 Years Old
10 Minutes
To find out how this lesson fits Physical Education and Health Education standards click here.
Create a chart with a list of the students’ names and each day of the month. (Instead of the student’s names, you could also use a “code name” that each student picks for themselves. Students could choose a healthier food item such as kiwi, mango, steak, etc., to use as their code name.)
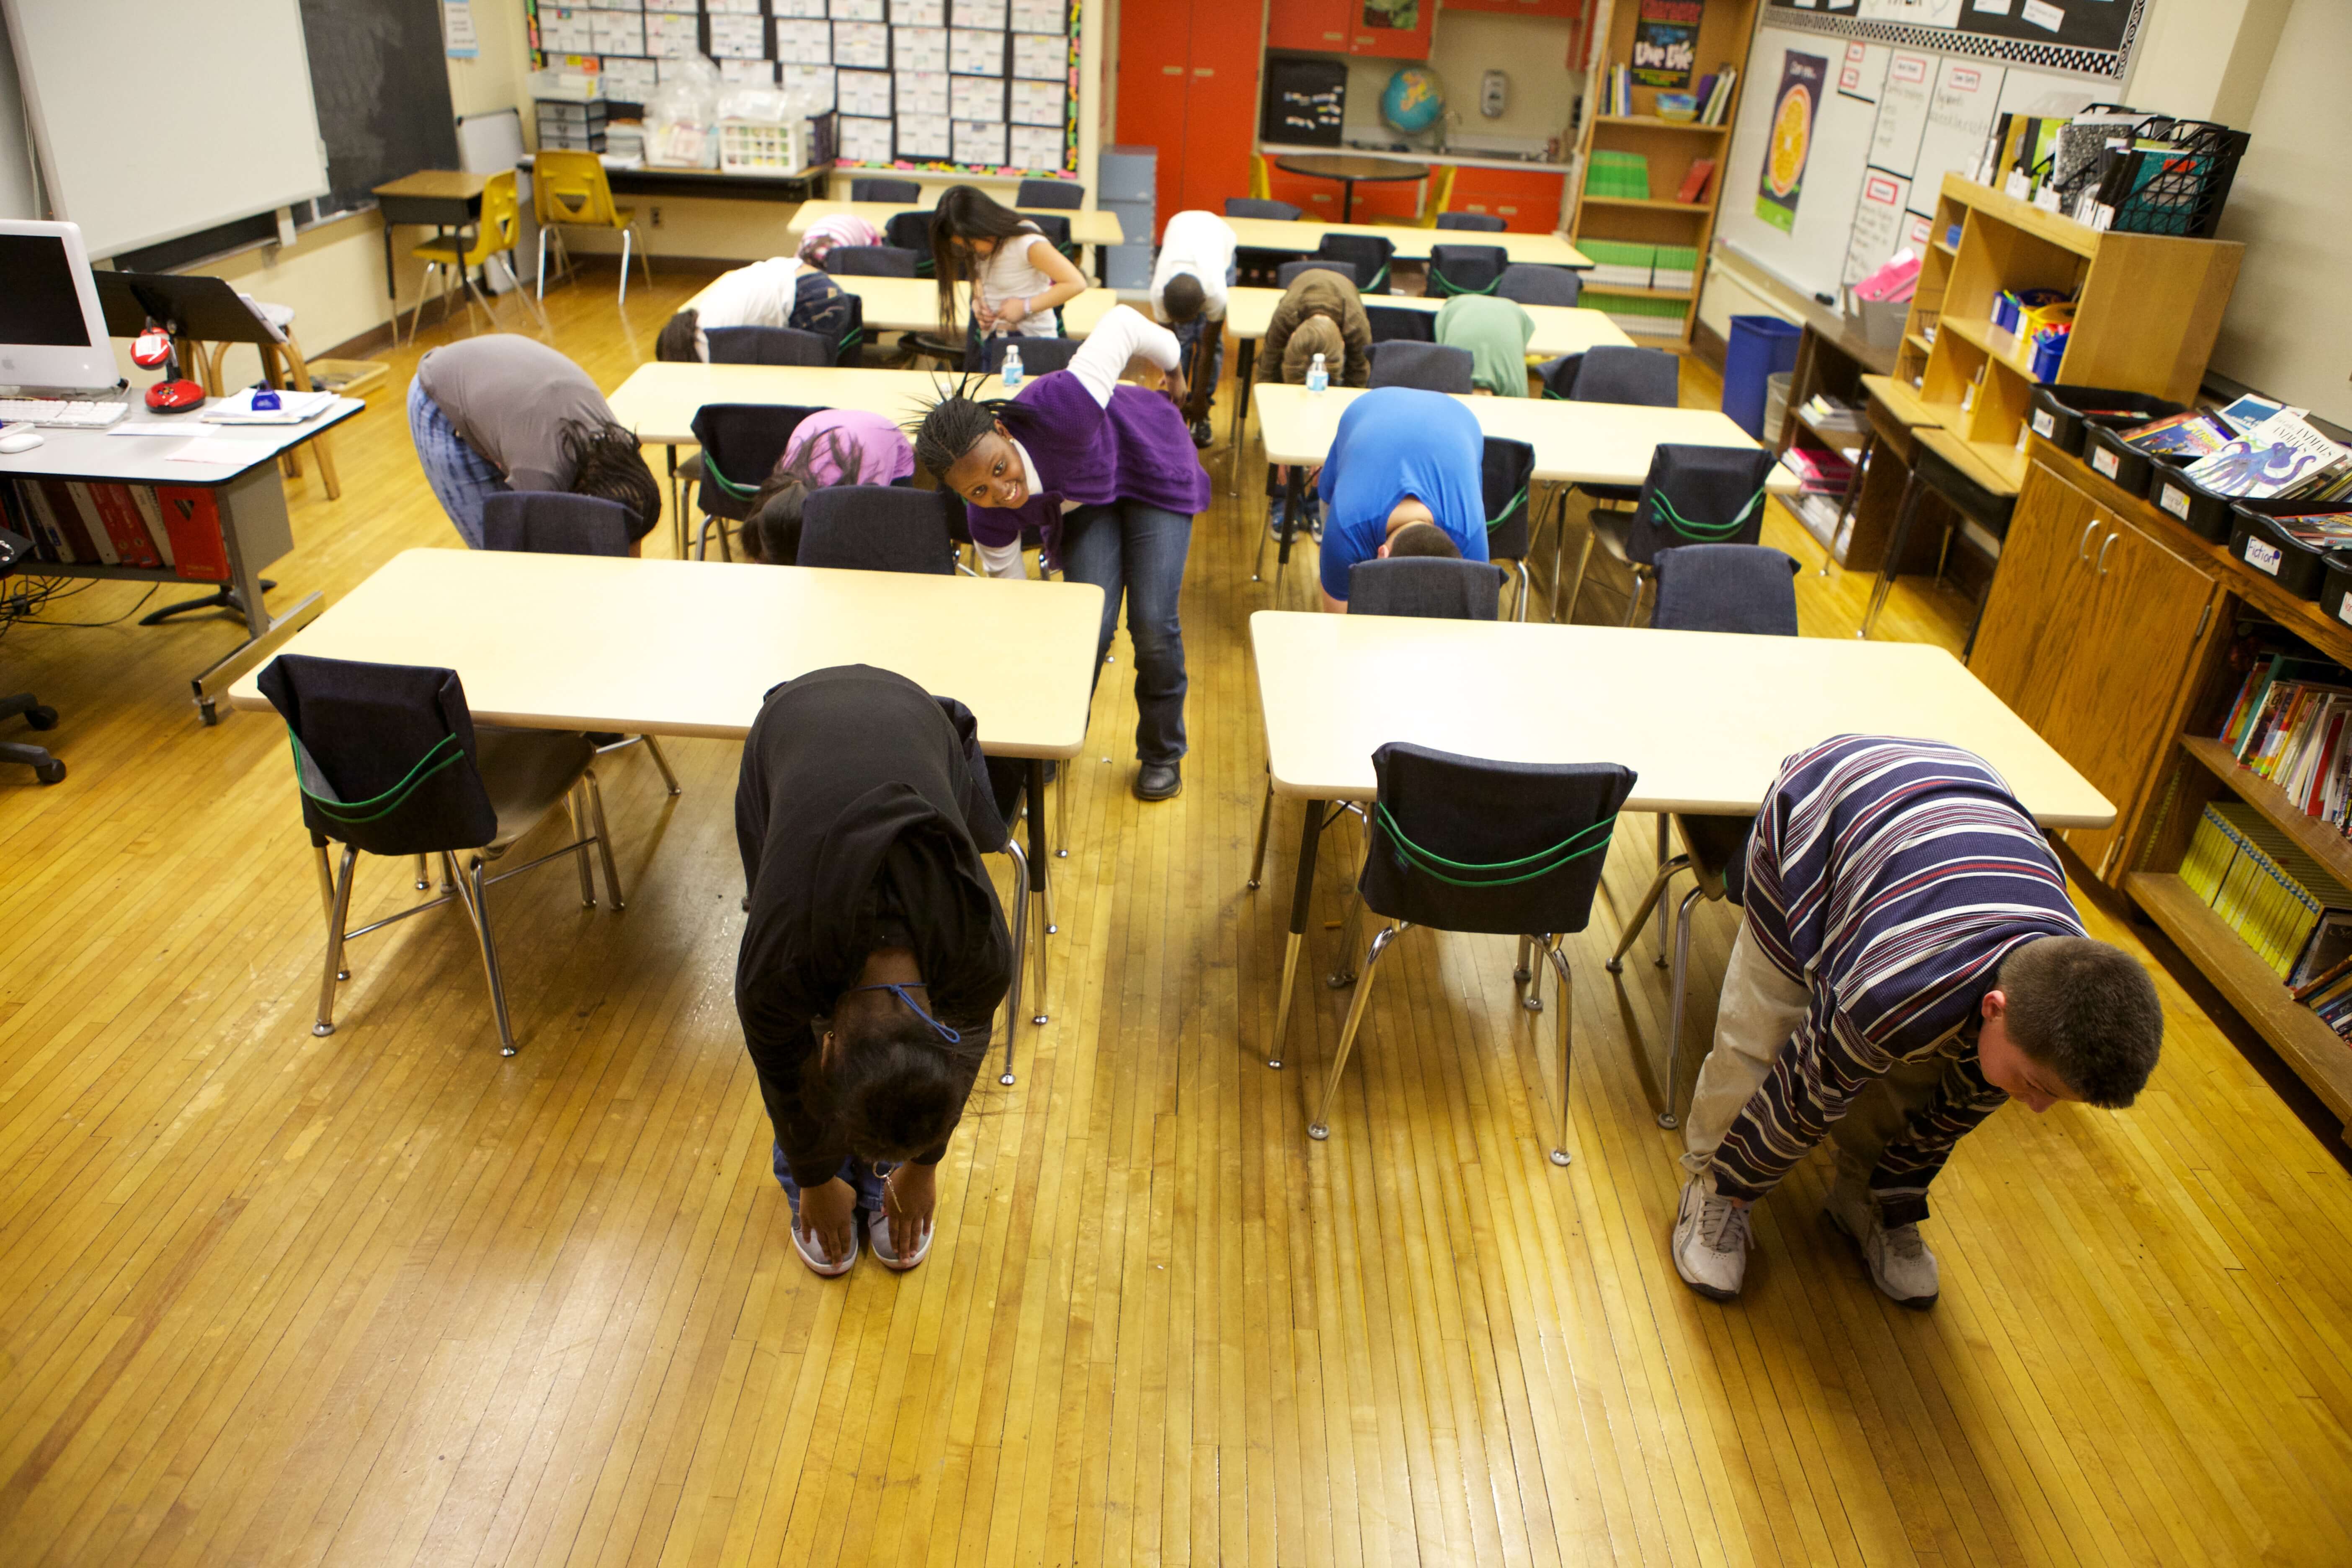
Before lining up for lunch, have students stand up next to their desks, or if space allows have students spread out in the classroom. Have all of the students do 10 jumping jacks and 10 toe touches, alternating 2 times for a total of 20 jumping jacks and 20 toe touches. Have the students add a sticker to the chart under their name for that day if they participated in the class activity or did some type of physical activity outside of school.
When the students return from lunch, ask who ate a serving of a fruit or vegetable. For every day the student eats a fruit or vegetable, he or she can put a sticker on that day.
At the end of the month, tally up the food and activity stickers. See if the class can improve the tally each month.
Back to Top
Check out some other fun related activities. See all >
3-14 Years Old
10 Minutes
To find out how this lesson fits Physical Education and Health Education standards click here.
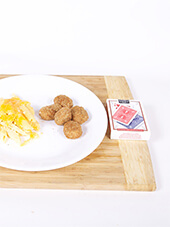
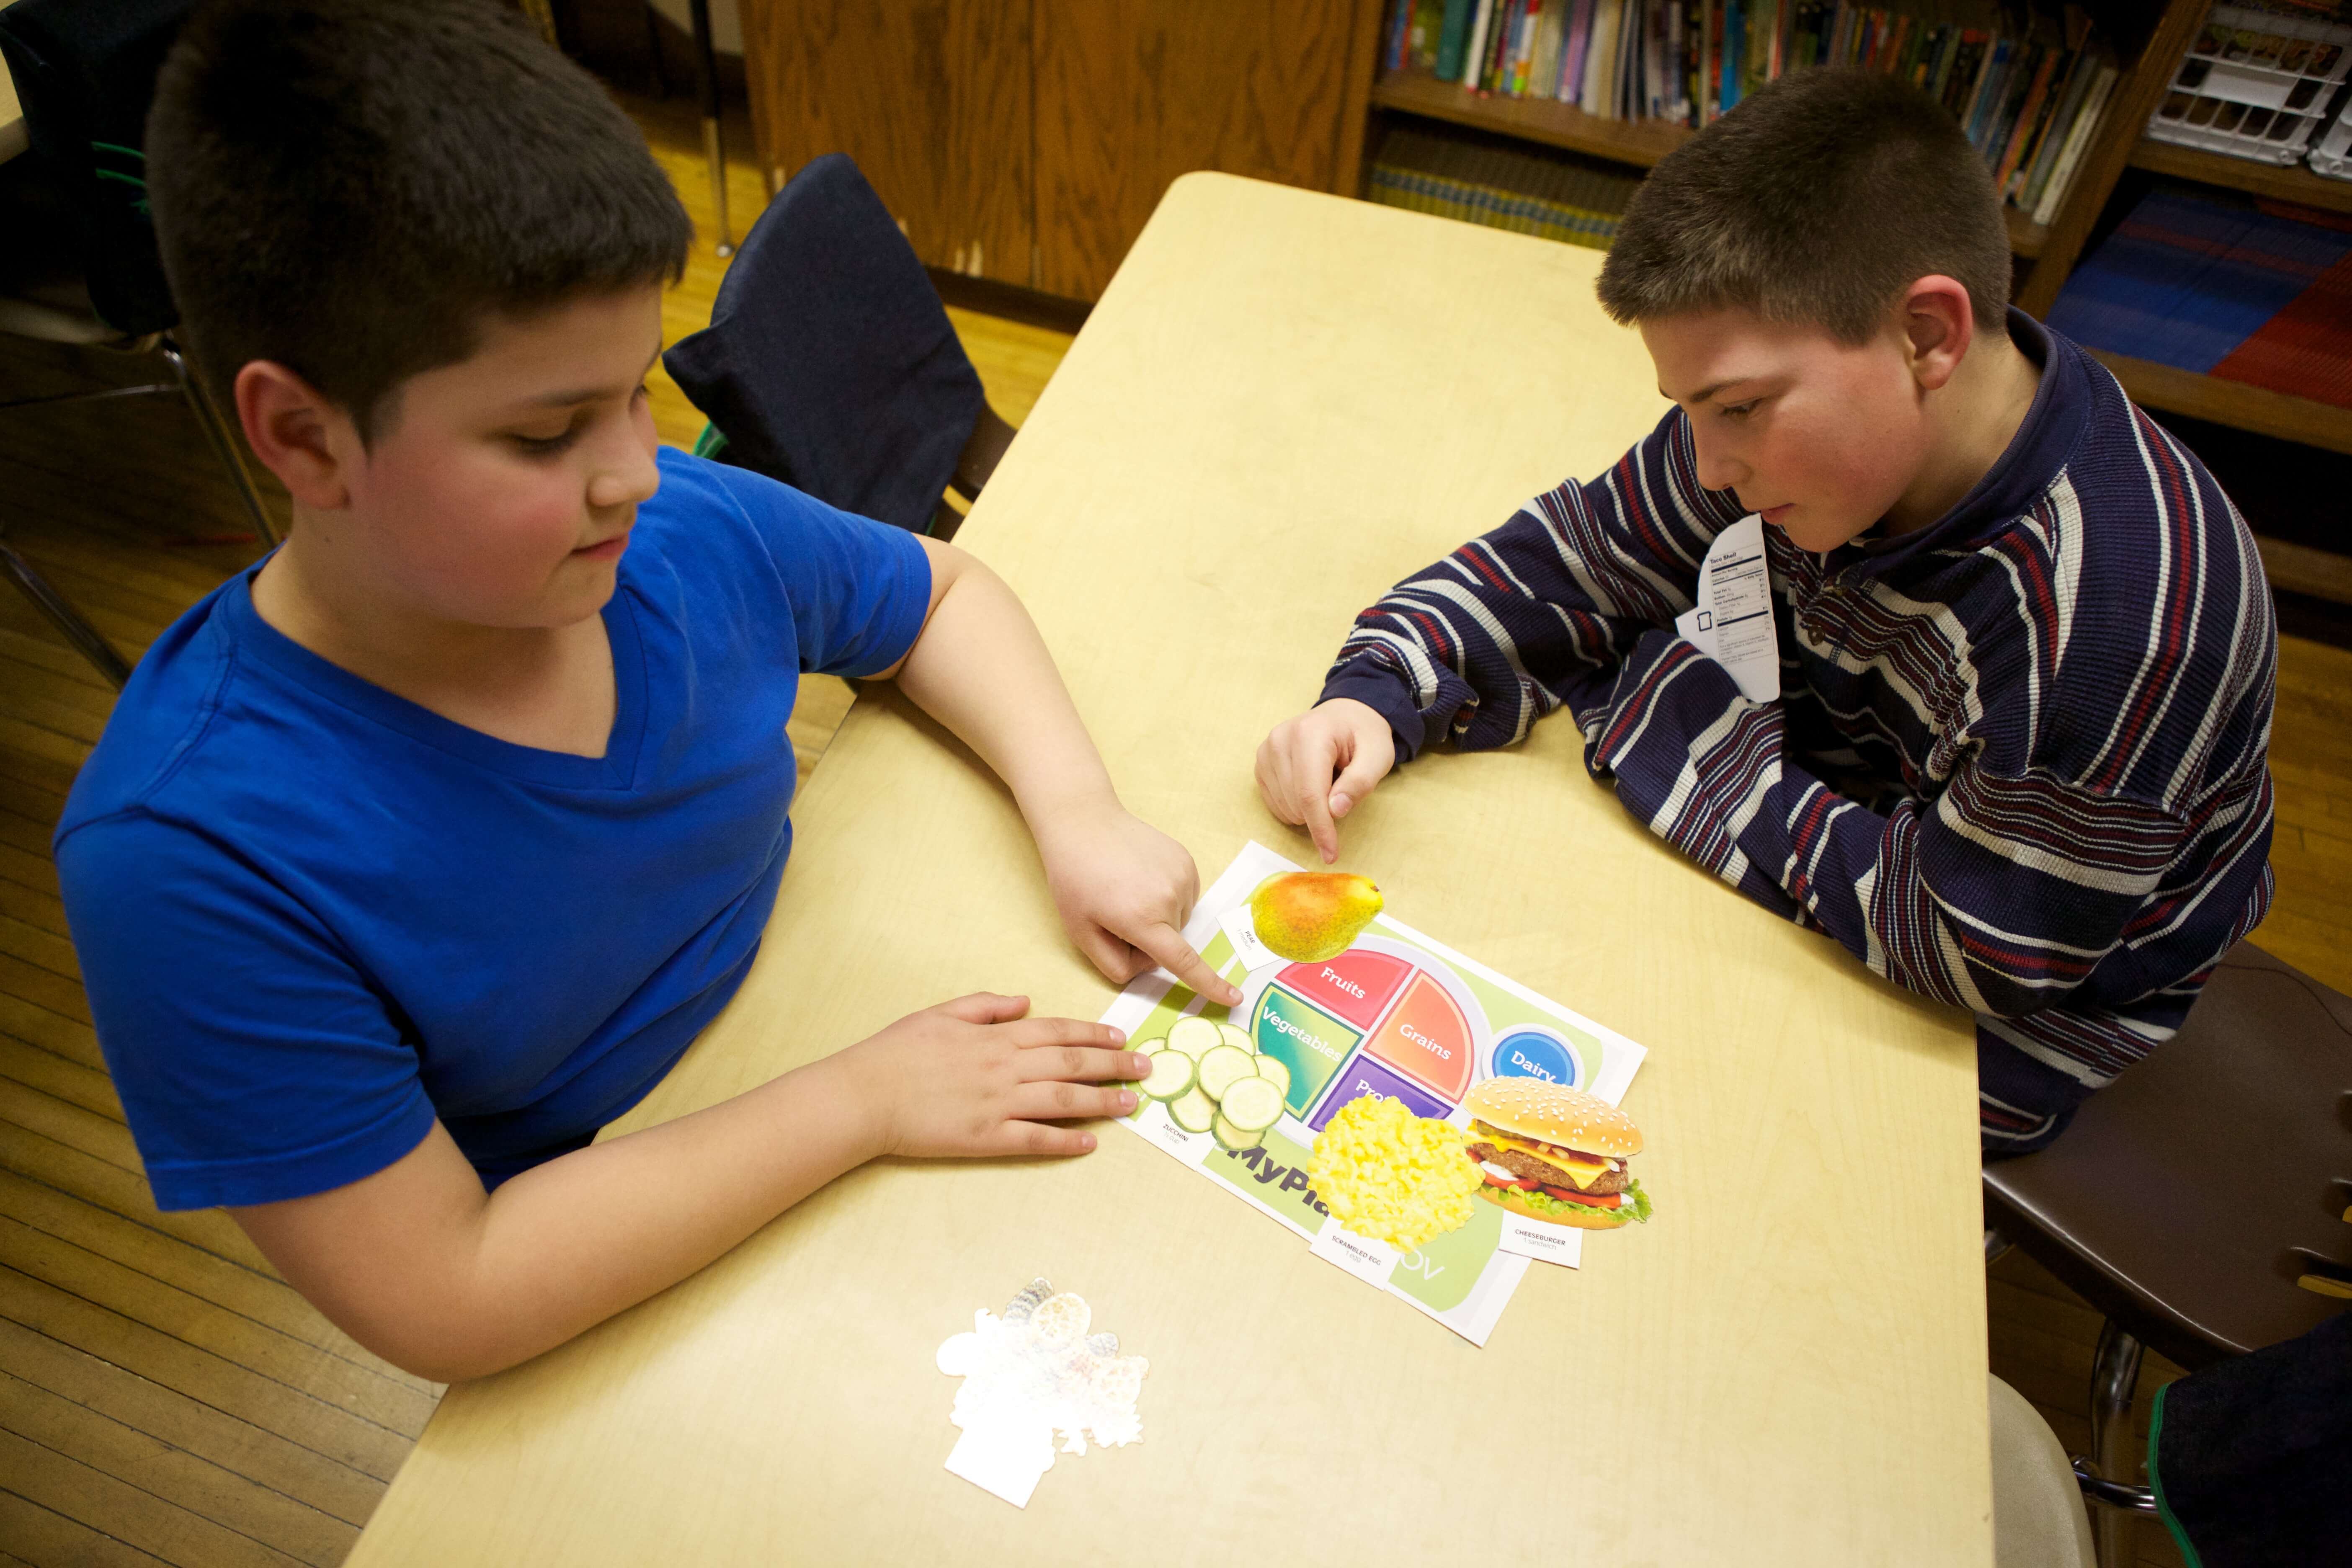
Using plastic or paper food models, have students take turns filling up a paper plate. When the students are finished, have them look to see if all the five food groups (fruits, vegetables, grains, protein and dairy) are on their plate.
Another variation would be to have each student draw last night’s dinner on the paper plate, then add any missing food groups. Have each student come up with unique ways to fill their plate. For example, if the plate is missing vegetables, the student could say they’d go to the farmers market to pick up green beans.
Back to Top
Check out some other fun related activities. See all >
3-14 Years Old
10 Minutes
One jump rope per student
To find out how this lesson fits Physical Education and Health Education standards click here.
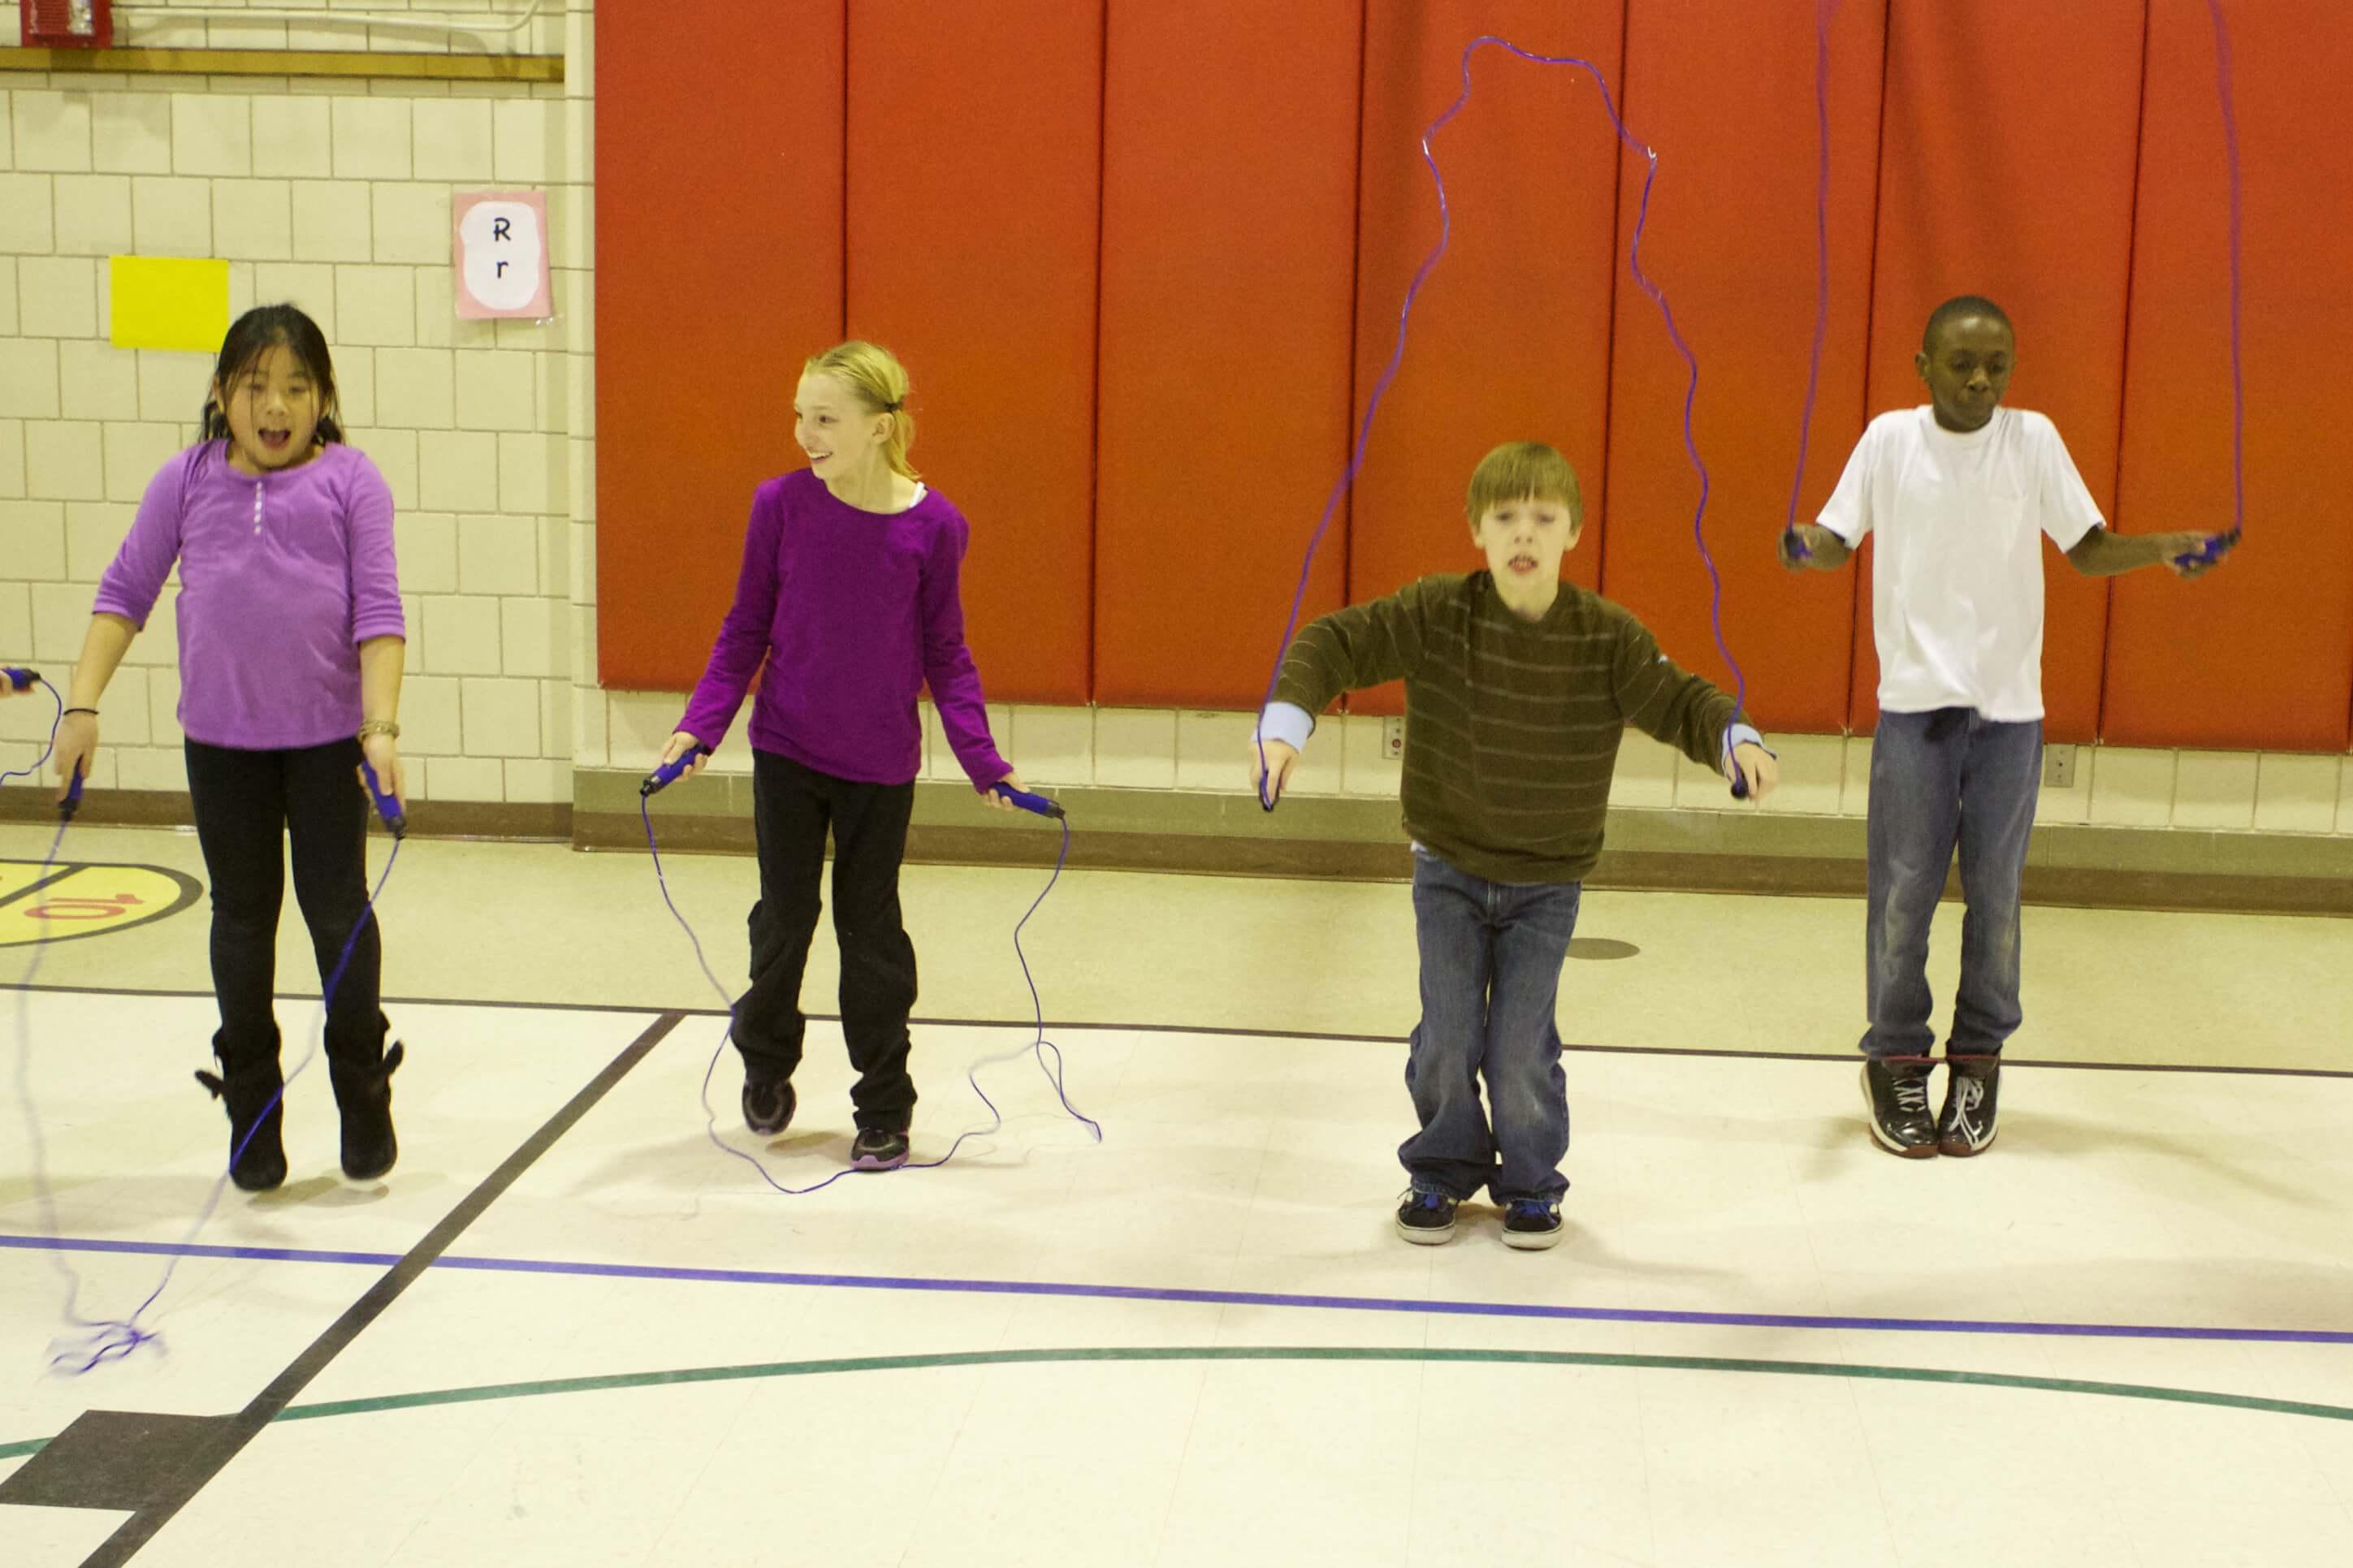
Hand out one jump rope per student. Allow students to jump rope for five minutes. After they have had a chance to jump rope on their own, encourage them to try the following jump rope ideas or come up with their own unique way of getting exercise with a jump rope.
Back to Top
Check out some other fun related activities. See all >
3-14 Years Old
10 Minutes
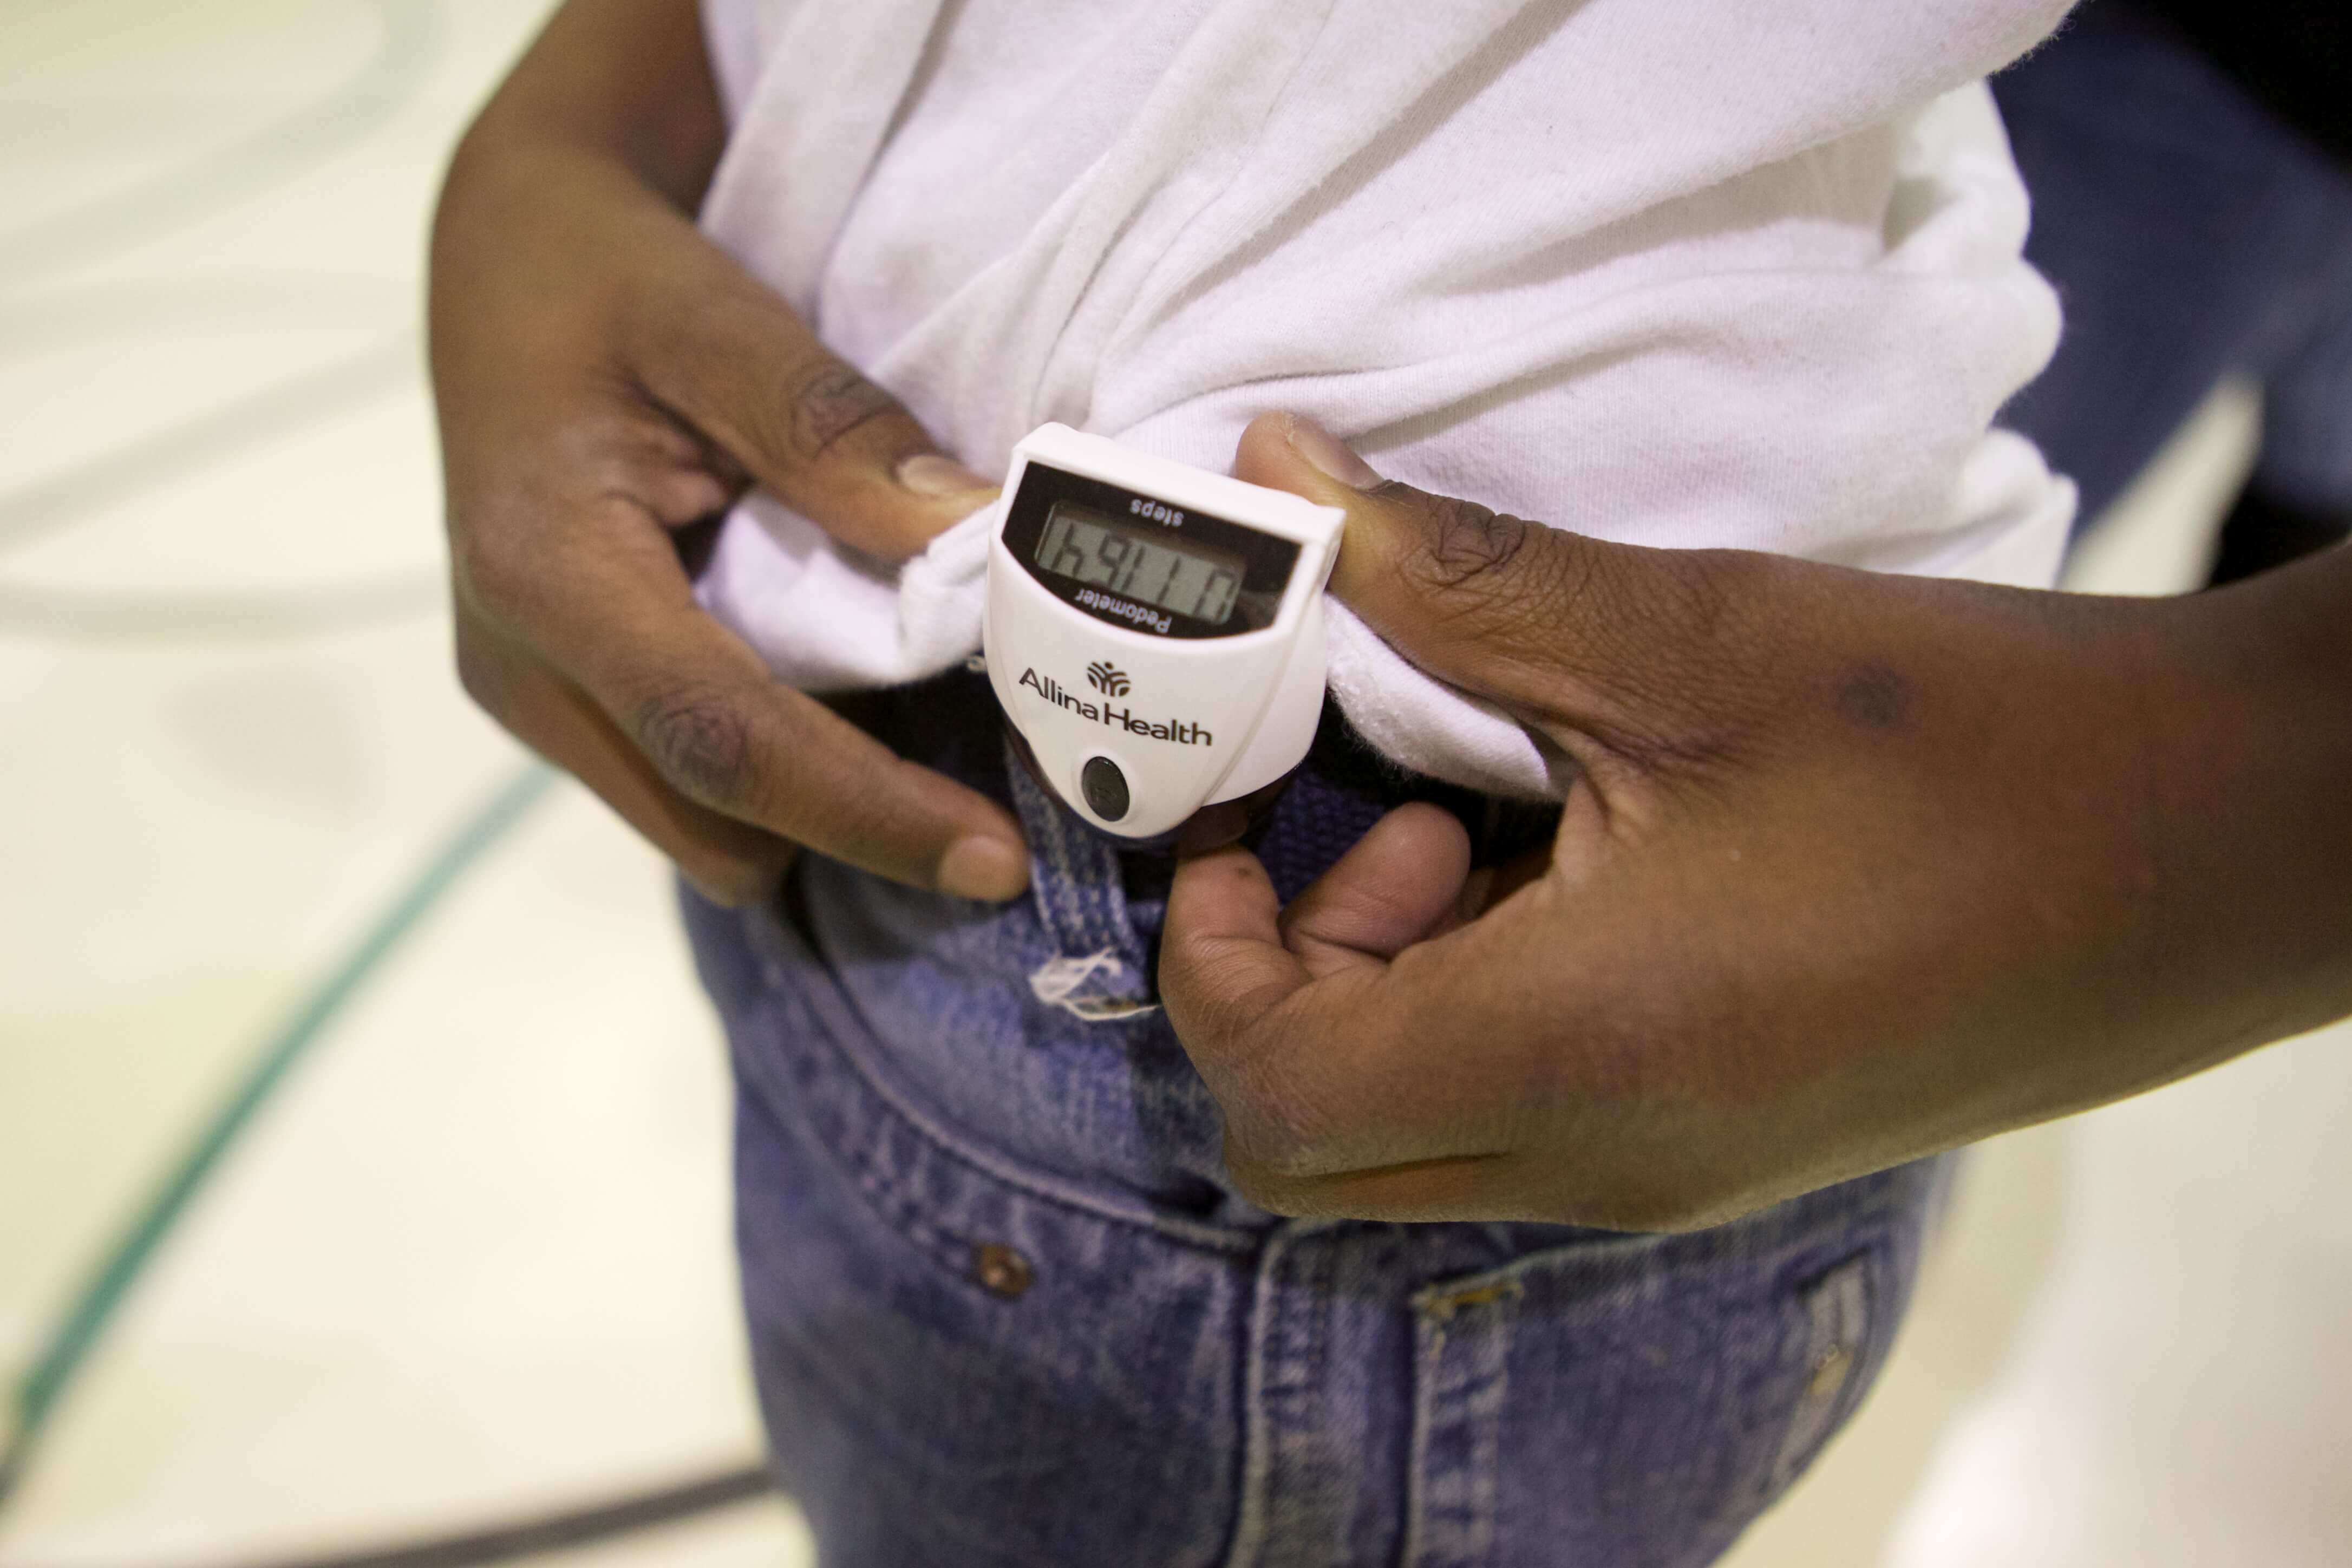
Pedometer
To find out how this lesson fits Physical Education and Health Education standards click here.
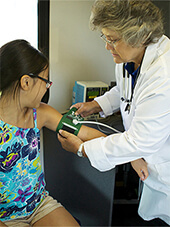
1. Introduce the pedometer and tell the students that the device is a battery operated step counter that tracks how many steps we take. On average, 2,000 steps equals one mile. We should strive to take 10,000 steps each day.
2. Demonstrate how to use the pedometer. The pedometer should be secured to the waist/pant line, straight up from either knee cap. It should be level and not tilted.
3. Help the students attach the pedometer correctly to their waist band. Spend four to five minutes per activity in the gym to allow students the opportunity to experience the fun and benefits of wearing a pedometer.
Pedometer activities could include: walking, running, hopping, and skipping or Choose MyPlate Chasers.
Equipment activities could include: jump rope, hacky sack or basketball.
• Ask the students which activity gives them the most/least steps in a certain amount of time?
• Have the students take a break from the activity to feel their heart beating faster.
• Remind them their heart is a muscle and it’s getting stronger and healthier with the activities they are doing.
Back to Top
Check out some other fun related activities. See all >
3-14 Years Old
5 Minutes
N/A
To find out how this lesson fits Physical Education and Health Education standards click here.
Have students use their arms and legs to make body shapes to resemble foods from selected food groups from the MyPlate diagram (example – fruits – use your arms/legs/body to form the shape of an apple, orange, or banana).
Variation: Have the students stretch their muscles while they shape the form of a fitness person in action
(example, tennis player, basketball player shooting a basket). Hold each action shot for 20 seconds to stretch muscles and then rotate to a different position.
For the final stretch have the students’ think of their own fitness pose or fruit and on your call have them create the pose. If time allows – go around the room asking students what pose they have created or have other students guess their pose.
Back to Top
Check out some other fun related activities. See all >
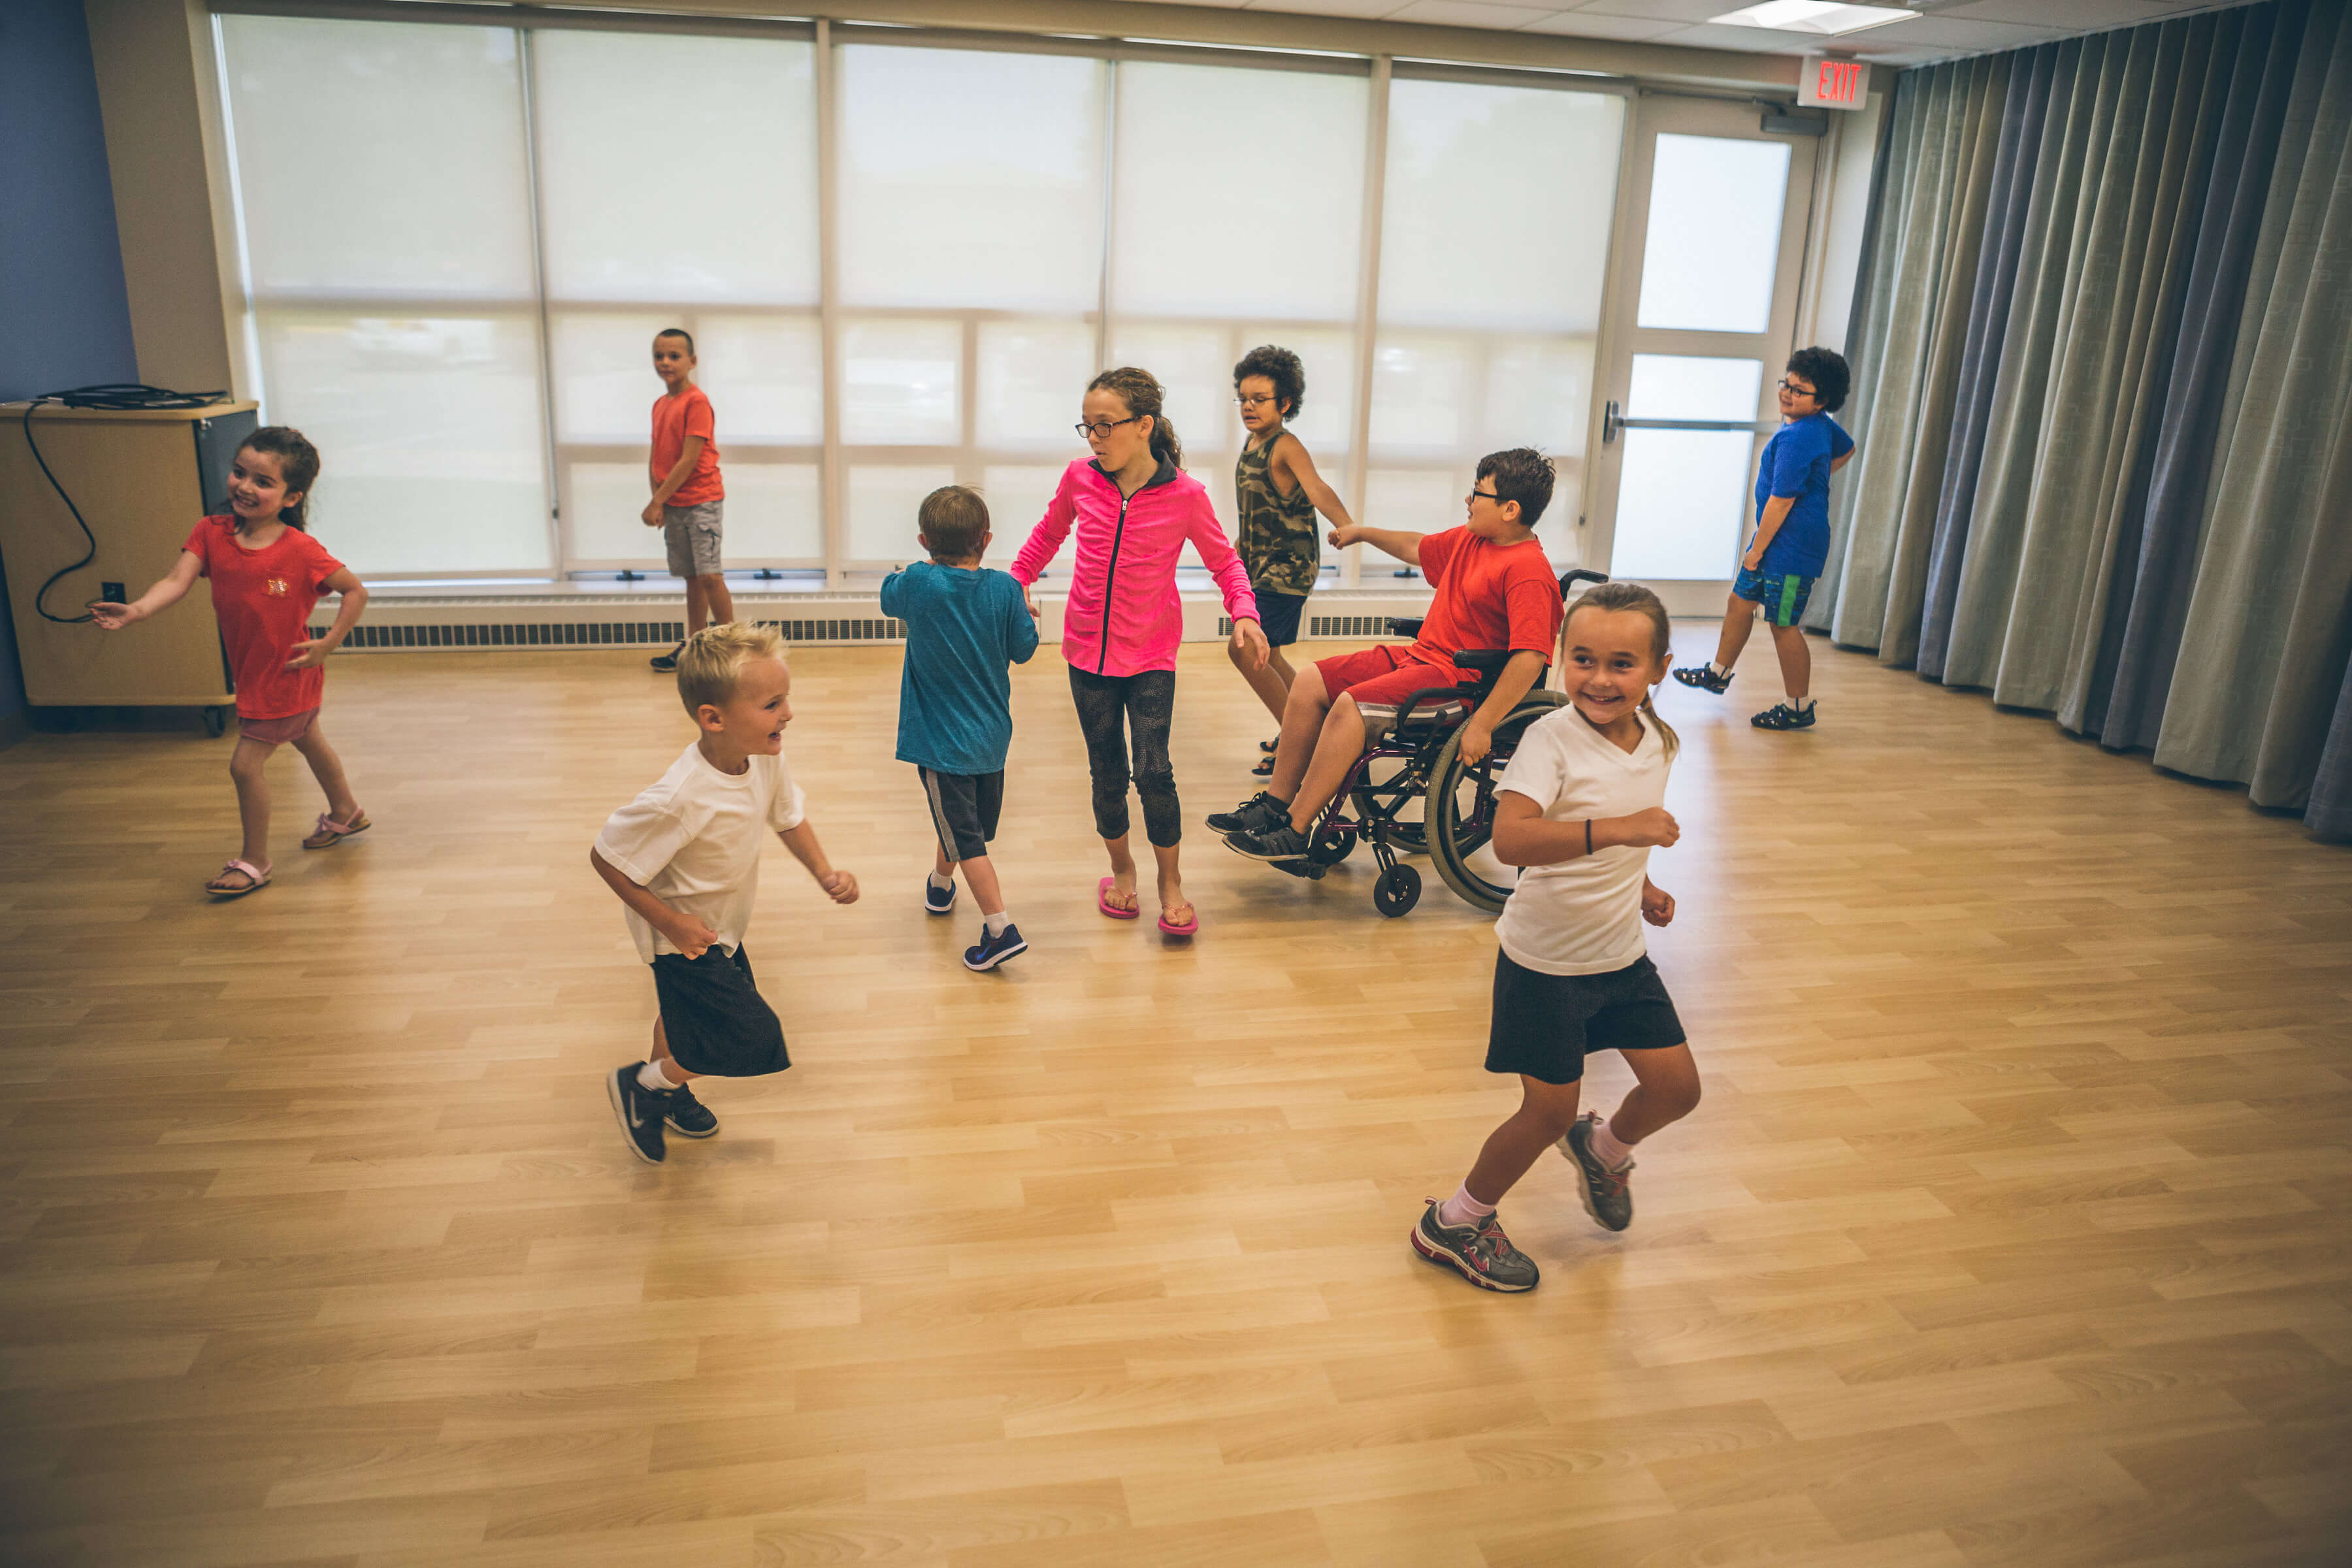
3-14 Years Old
10 Minutes
Gym
To find out how this lesson fits Physical Education and Health Education standards click here.
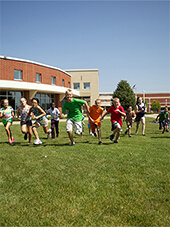
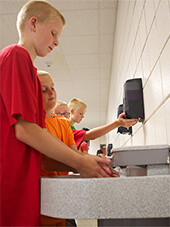
Contagious is a game that teaches the importance of good hand washing to prevent the spread of germs and illness.
Start with two players designated as “it” (the contagious germs). The rest of the players spread out in the gym or designated area.
The players that are the germs work to tag the other players. Once another person has been tagged they are considered contagious and become a germ. They either hold hands or link arms with the first germ to become a two-person (germ) team.
This germ team moves around the gym trying to tag or “infect” other players with their germs. Each tagged person becomes part of the growing link of germs.
Once the group of germs has six people, they divide into two groups. The game ends when all players have been caught.
The goal of the game is to stay healthy and free from the germs by moving quickly about the room and avoid being tagged. Emphasize the importance in our daily lives to wash hands regularly to avoid the spread of germs.
Youth who use a wheelchair can also participate! Make it more challenging for the others by having them sit their bottoms on scooters (if available).
Back to Top
Check out some other fun related activities. See all >